UJI – Creating Generative Art With a Parametric, Iterative Line-Drawing Routine
This (now long) past summer, deeply interested in generative art and finding myself scrolling through the #plottertwitter hashtag most days, I set off to build a kind of generator I hadn’t yet come across: a simple, web-based tool that first generates a line and then iteratively applies an exhaustive set of parameterized (so, user-controllable!) transformations to it, drawing the line after each iteration.
Meet UJI.

UJI’s interface, photoshopped onto a stock photo of a laptop more recent than mine.
In this post, I’ll briefly outline the thoughts behind UJI’s interface design, explain the core algorithm at a relatively high level (take a look at the code for details), and finally show off a diverse bunch of drawings I’ve created with UJI since its initial release.
Interface
UJI’s interface, as you can see above, is deliberately minimalist. It’s intended to recede into the background, empowering the user to focus on creating art through play.
The drawing area, where the image is automatically redrawn each time one of the parameters is modified, takes up the bulk of the viewport – if larger than the available pixels, it’s automatically resized to fit. There’s a sidebar filled with controls:
-
At the top, below the logo and a very brief explanation, a set of diamond-shaped buttons represent presets: click on one and the range sliders below adopt the parameters stored in the preset.
These presets are intended to provide the user with an impression of what’s possible and can serve as jumping-off points for initial explorations, thus lowering the barrier of entry. They’re labeled with math symbols, admittedly mostly because I didn’t want to come up with names for them.

The presets. The last preset, marked ⌘, resets all parameters to their defaults.
Note that when opening UJI, one of the presets is selected at random.
-
Below, coarsely grouped by function, you’ll find a stack of range sliders for dialing in the parameters steering the behavior of the iterative line-drawing routine.
To encourage exploration and thus facilitate the creation of unexpected new works, they purposefully lack descriptive labels (but explanations do pop up when hovering over the symbol next to each slider), instead being adorned with glyphs from Imperial Aramaic and Phoenician alphabets. I’ve found that a regular user will eventually learn the functions of individual sliders based on category, location, and symbol.
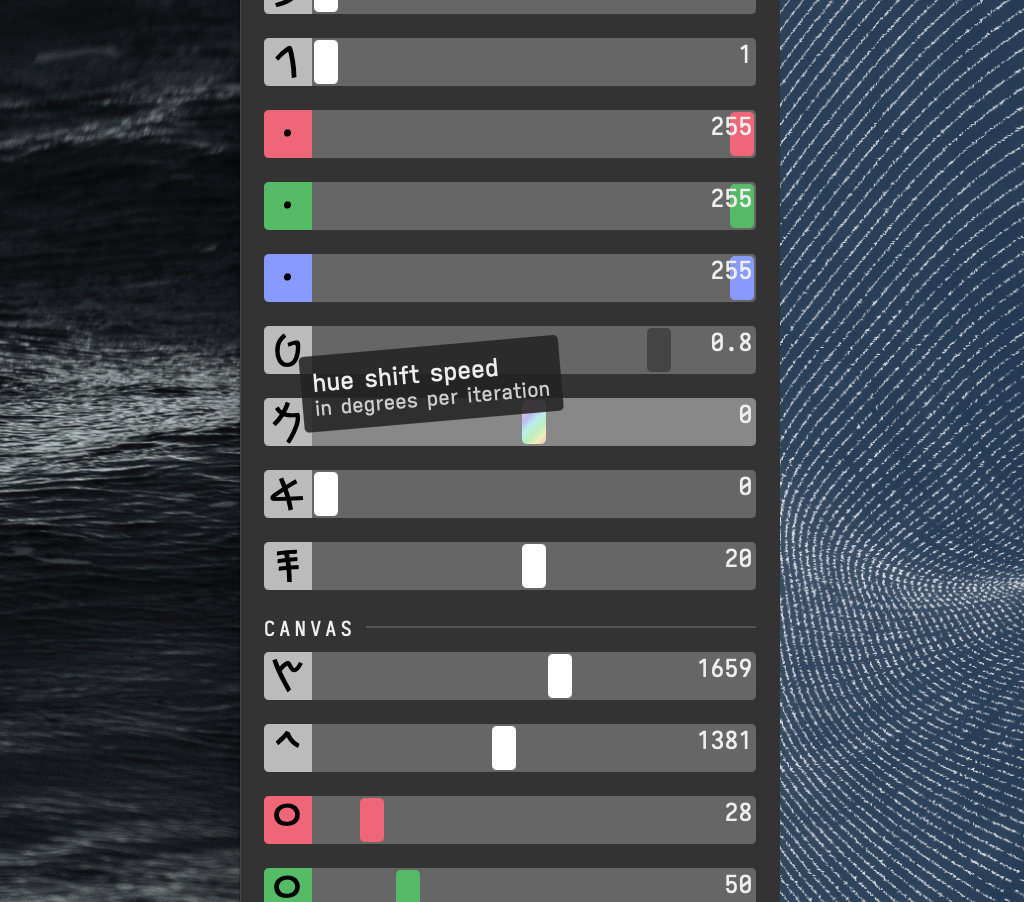
The sliders. Some are colored to better indicate what they do through visual grouping.
Values outside the set ranges (which I’ve chosen in each case to coax the user towards reasonable parameter values, keeping the curse of dimensionality at bay) can be input by modifying the displayed values directly.
Keyboard shortcuts provide quick adjustment options, e.g., pressing +/- while hovering over a slider will increment/decrement the associated parameter.
-
Fixed to the bottom of the screen, you’ll find some relatively standard UI components: undo/redo buttons (which are implemented such that repeated adjustments of a single parameter won’t lead to a bazillion undo steps), an “export” menu (providing PNG, JPEG, and SVG formats, the latter of which lacks colors, but is handy for pen plotting) and a “share” menu (offering an URL that encodes the current parameters).
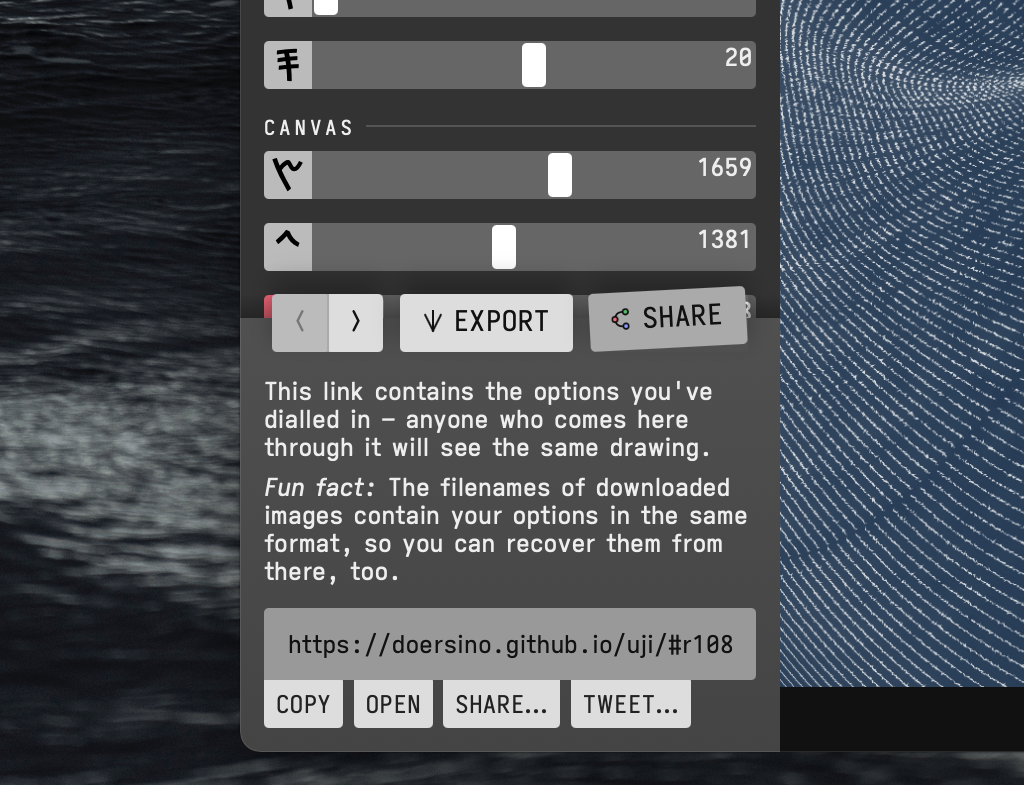
The share sheet. (The “export” sheet looks similar.)
The icons visible here, as well as UJI’s logo, have been designed using the Markdeep Diagram Drafting Board, a previous project of mine.
If a user has previously visited UJI, a small popup will appear near the undo button on load, offering to restore the parameter values from the most recent session – to make this possible, they’re continuously written to localStorage within the user’s browser. (UJI has no server component; it’s a single HTML file.)
Algorithm
Despite the complex behaviors commonly emergent during the drawing process, the algorithm at the core of UJI could barely be more straightforward:
After generating the initial line based on the parameters related to shape, size, position, and rotation angle, during each iteration a bit of math is applied to it depending on the values of various parameters and the iteration number. As part of this iterative cycle, the line is repeatedly painted onto a canvas given the parameters relating to color and blend modes.
This process starts anew each time the user modifies a parameter (or loads a preset, which really just modifies multiple parameters).
I’ll explain things in more detail below – to help you dive deeper into implementation details, if you wish to do so, the green links point directly to the relevant code snippets.
Line generation
There’s four basic shapes – a circle, a square, a triangle, and a line – whose initial size, position, and rotation angle can be adjusted by the user. How many line segments the shape will be composed of is also a parameter; small values of this parameter can produce interesting artifacts (and are generally more suited for pen plotting). Based on this information, UJI generates a list of x and y coordinates, two adjacent pairs of which define a line segment.
There’s some trigonometry involved in generating a circle (see “parametric form” here), and a bit of logic in generating a square (to arrange the first quarter of line segments in a horizontal line, then the next quarter in a connected vertical line, and so on) and triangle (fairly similar), and barely anything in generating a basic line. To make things easier, the initial rotation parameter is applied after the shape has been generated.
Another parameter processed during this stage is the one I call “line swappiness”, where a certain number of entries in the list of coordinate pairs are swapped, which can yield intriguing effects in a finished drawing.
As part of this initial setup step, the canvas is also prepared for drawing: If required, it’s resized to match the selected image dimensions, its previous contents are erased, and the background is drawn, optionally with a parametric amount of noise – I find that this makes the resulting drawings look less flat. Also, the parameters for line colors, line shadows and blend modes are processed during line generation.
Iterative drawing
In an asynchronous loop that runs 60 times a second, the line is first drawn and then modified according to the parameters and some basic math that I arrived at through trial and error more than, say, rigorous physically-based rendering theory.
In every iteration, the following actions are performed for each line segment:
- It’s prepared for drawing – this could be done after modifying, but that’d mean the initial state never had a chance to be drawn, which doesn’t seem right.
- The algorithm determines whether the line segment should be skipped depending on various parameters, e.g., through a random skip chance, or if the user has set things up such that the line slowly fades in (or out) across multiple iterations.
- Otherwise, the start and end points of the line segments are determined – that’s only required if either the “line segment rotation” or “line segment lengthening” parameters deviate from their default values. (By default, the start and end points are the ones stored in the list of line segments.)
- The line segment is painted on the canvas.
- Note that the color of the line can change in each iteration – a hue shifting parameter has been introduced through a pull request by Crul, which was a revelation to me. Gradually shifting the line color’s hue can be used for psychedelic effects, but also just subtle gradients and, in combination with blend modes, fun color mixing shenanigans.
- Depending on the selected blend mode, line thickness and opacity, what’s been drawn previously shines through – luckily, the Canvas API takes care of doing this correctly.
- At the same time, the line segment is stored in case the user later wishes to export the drawing as an SVG file. (Note that line segments outside the drawing area are trimmed during export through an implementation of the Cohen-Sutherland algorithm – this isn’t necessary during normal drawing as an HTML canvas won’t show anything drawn beyond its bounds.)
- The algorithm then modifies the line segment ahead of the next iteration:
- The x and y coordinates are multiplied with a random number constrained by a very small “jitter” factor, which adds visual interest by making the shape a bit less mathematically perfect. Since this jitter is applied during each iteration, it tends to grow more pronounced with time.
- To effect expansion or contraction, the x and y coordinates (or rather, their deviation from the center in both cardinal directions) are again multiplied, but this time with user-defined parameters instead of a random number. Another set of parameters can speed this up over time or slow it down to the point where expansion turns into contraction or vice versa after a certain number of iterations.
- The shape can be linearly moved by a certain number of pixels horizontally or vertically: addition instead of multiplication.
- Trigonometry time! Some waviness is introduced by adding the sine of the iteration number, scaled independently for x and y given parameters for amplitude and frequency. I added this transformation on a whim (it’s sort of non-obvious compared to, say, expansion), but it turns out to yield really interesting results, especially in combination with rotation: During the first 180 degrees of rotation, repeatedly applied waviness builds up, but for the next 180 degrees, the newly applied waviness gradually cancels out the previously-built-up waviness.
- Finally, the line is rotated around a user-defined point (usually the center of the canvas). The relevant parameters include rotation speed, rotation speedup or slowdown (which, similarly to expansion/contraction, can eventually turn a clockwise rotation counterclockwise), and until which iteration the rotation should fade to zero. Another parameter, if not left at its default value, makes the rotation sinusoidal, i.e., it alternates between clockwise and counterclockwise rotation.
There’s a user-defined limit to the number of iterations carried out, after which the final drawing can be downloaded. The interface remains active while the image is drawn, any changes will restart the drawing process from the beginning.
Nothing too tricky, right?
I arrived at this set of transformations incrementally – adding the ones that initially came to mind, then playing a bit, thinking of more, rinse and repeat. That’s also why the order of operations is perhaps a little unintuitive - UJI grew organically, the resulting dependencies between different parameters, in my mind, add to the charm of the tool and its proclivity to generate interesting stuff.
Coming up with a good end result is all about discovering a promising family of parameter values that combine in interesting and unforeseen ways through play and then refining them, homing in on a specific set of values that produce an attractive drawing. Some knowledge of the algorithm certainly helps during this latter stage, the dissemination of which has really been the impetus for writing this post.
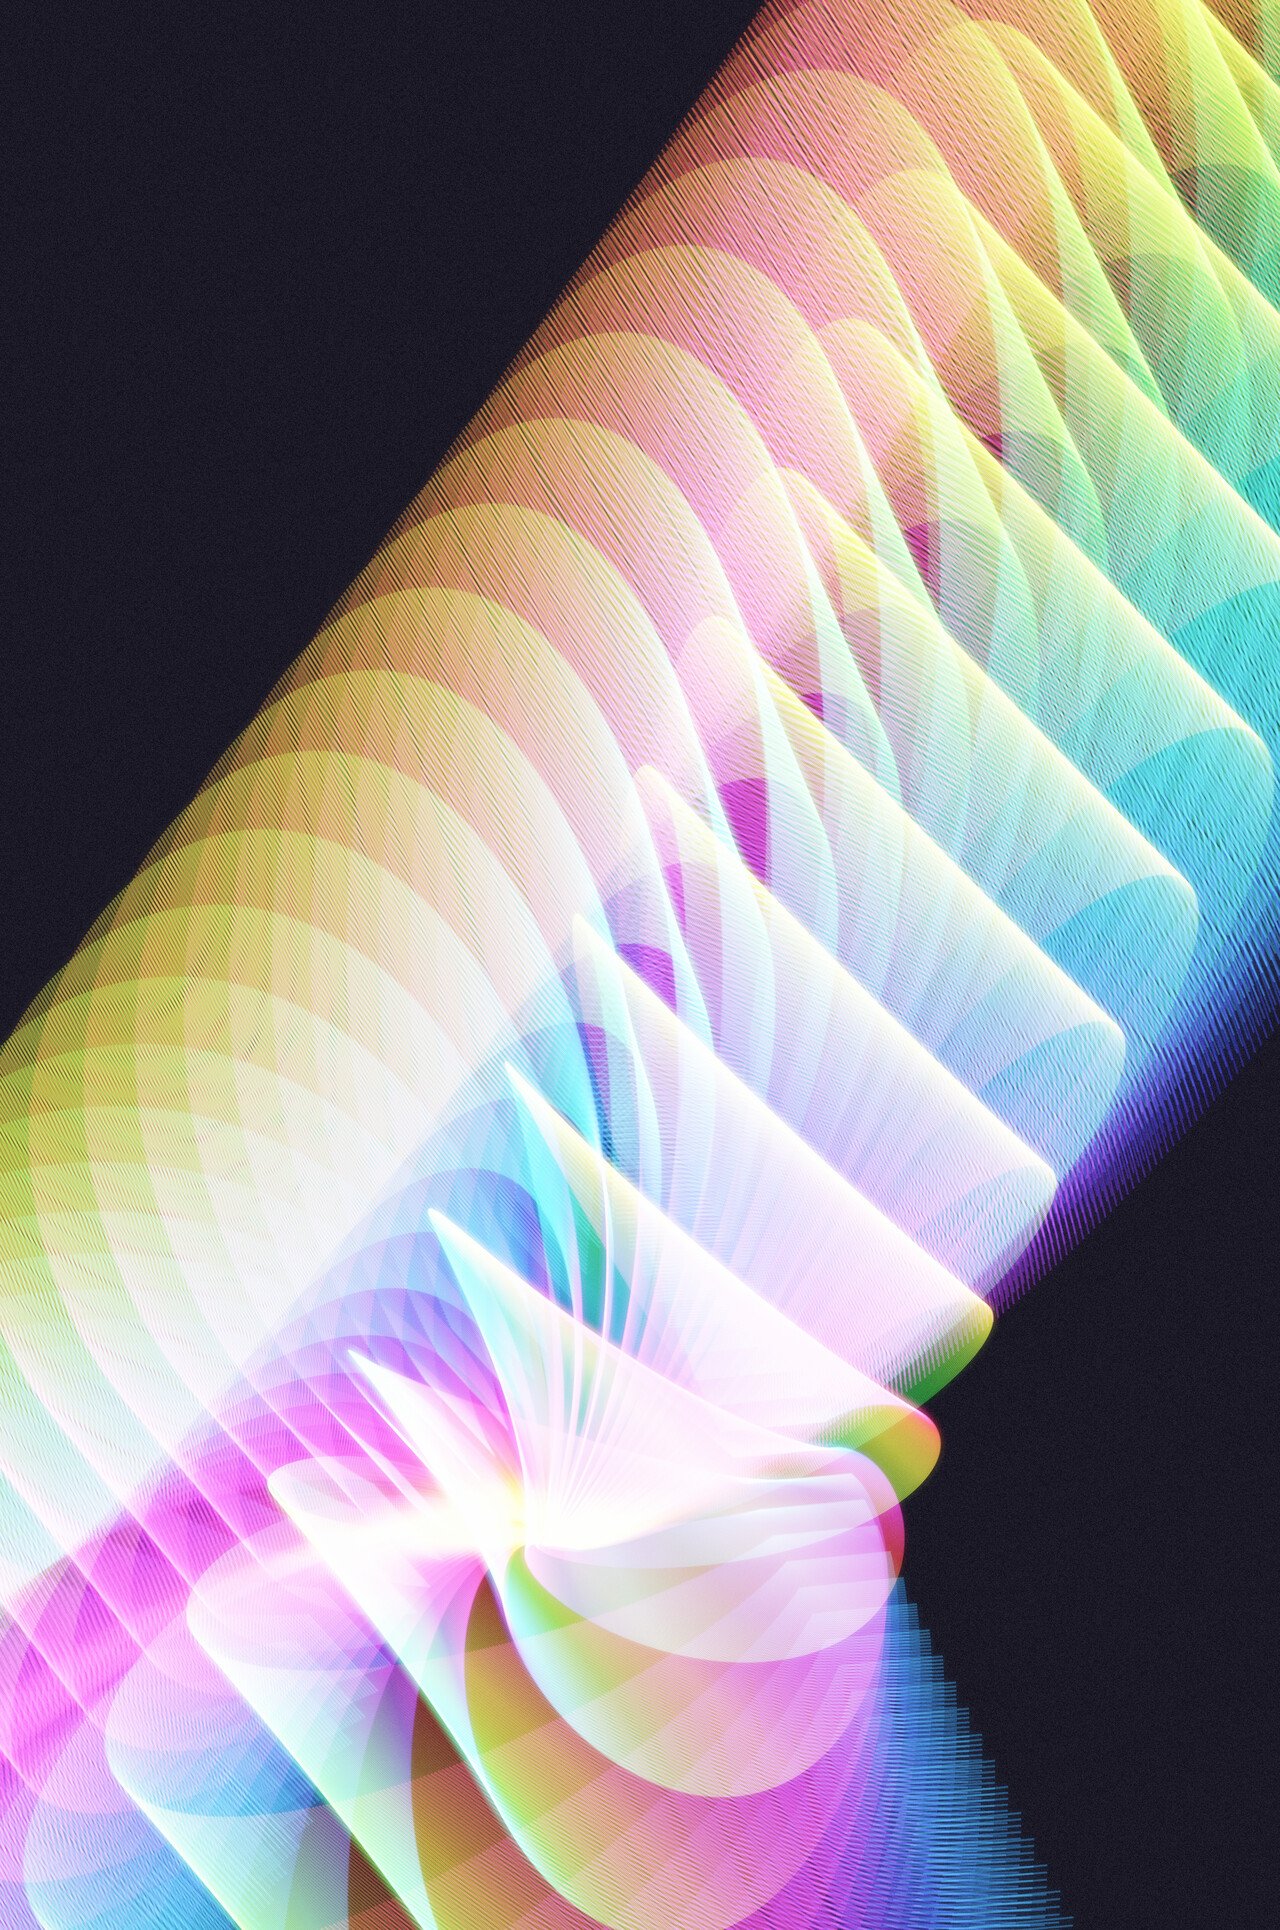
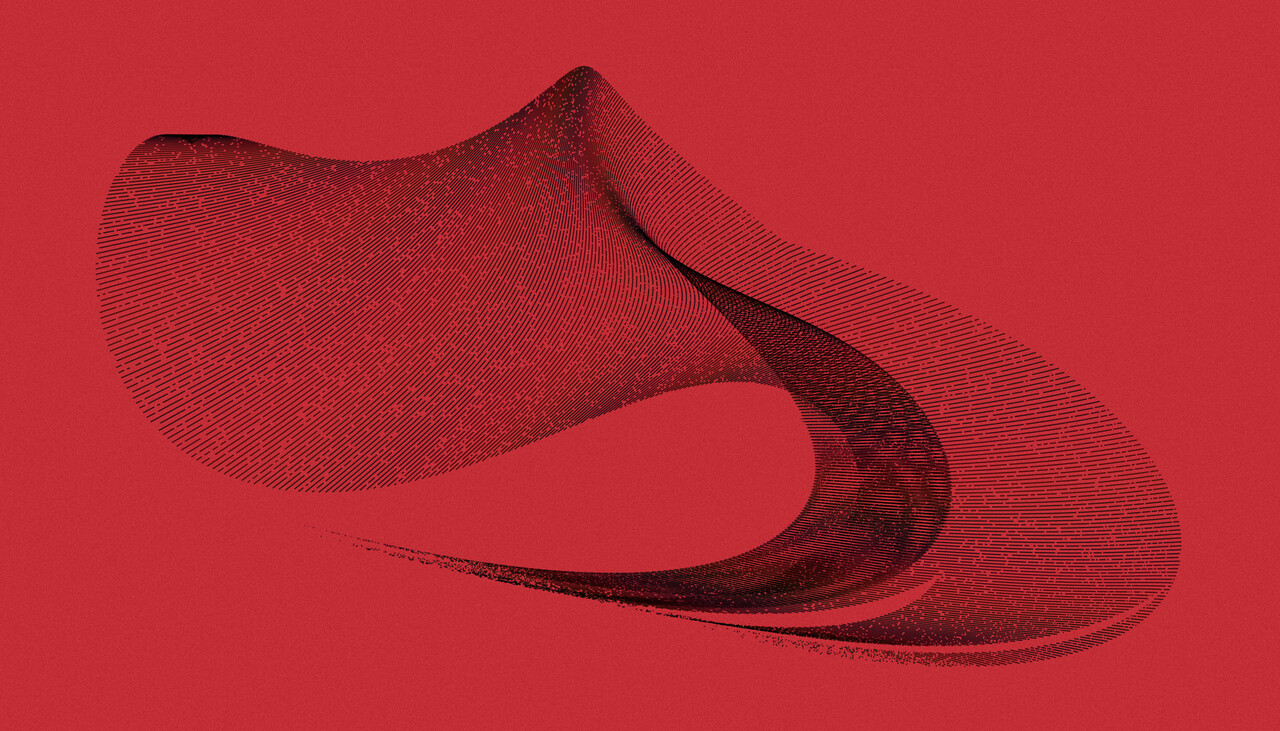
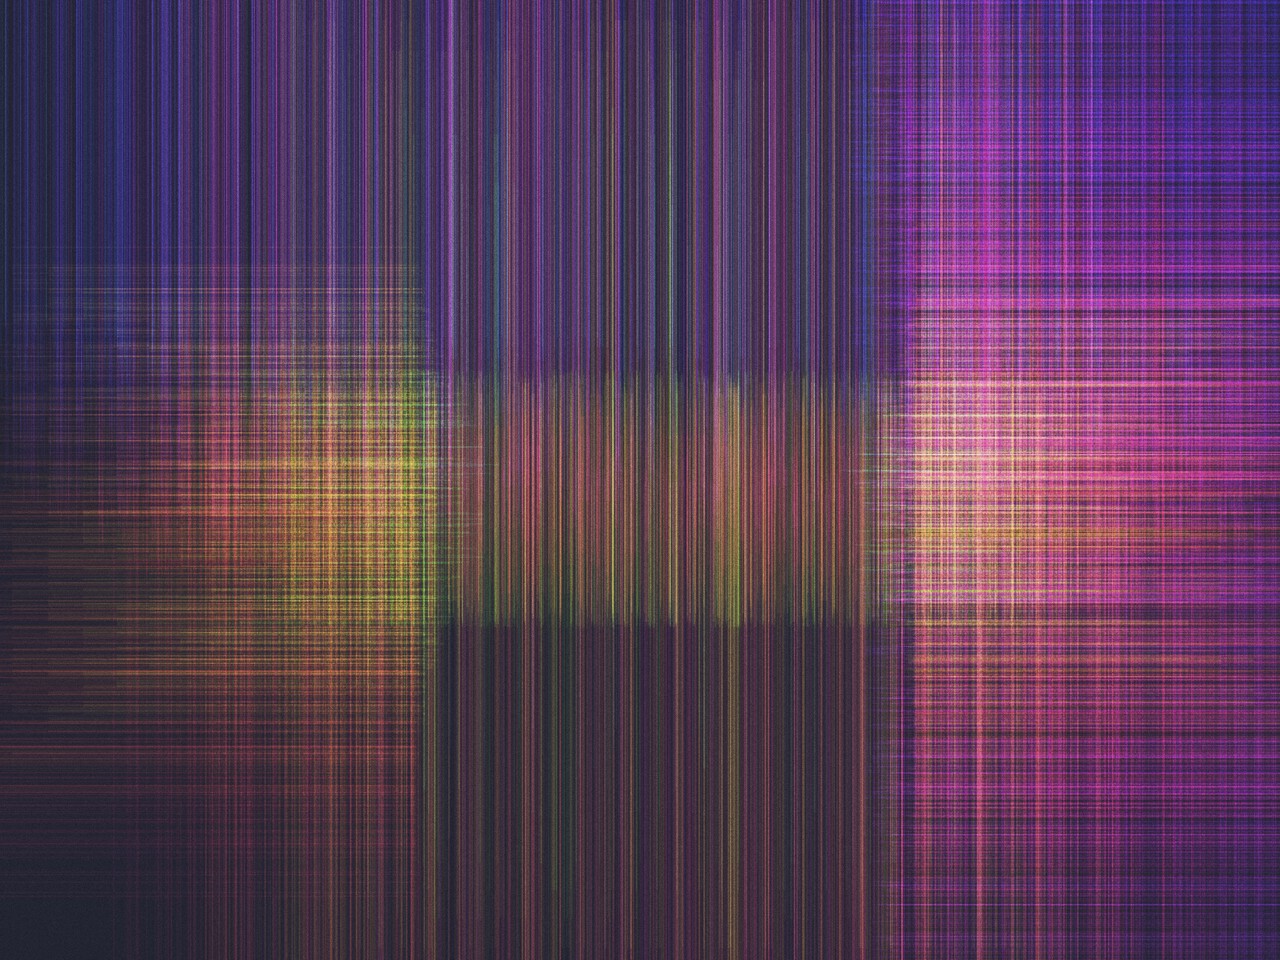
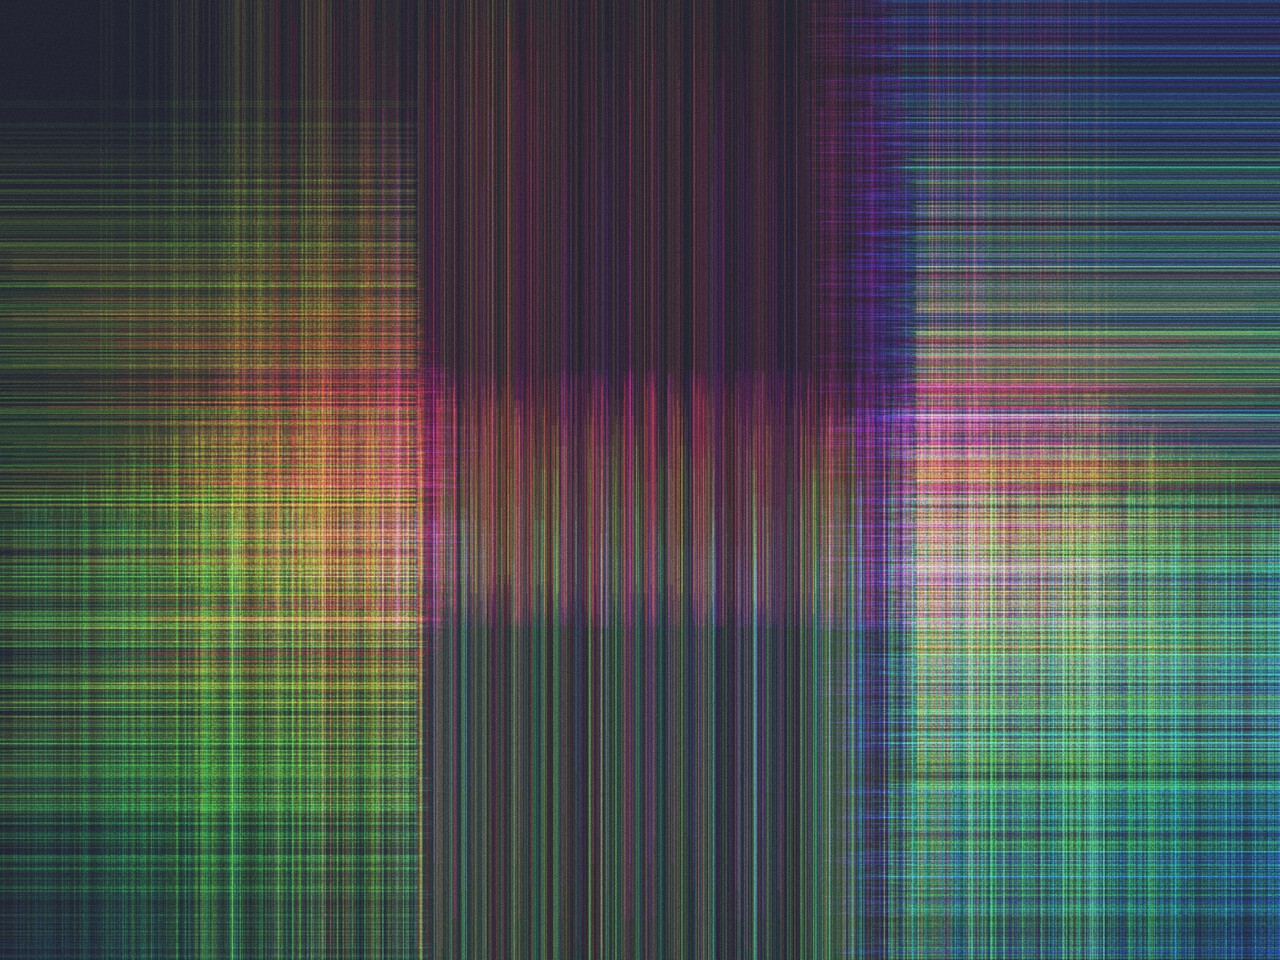
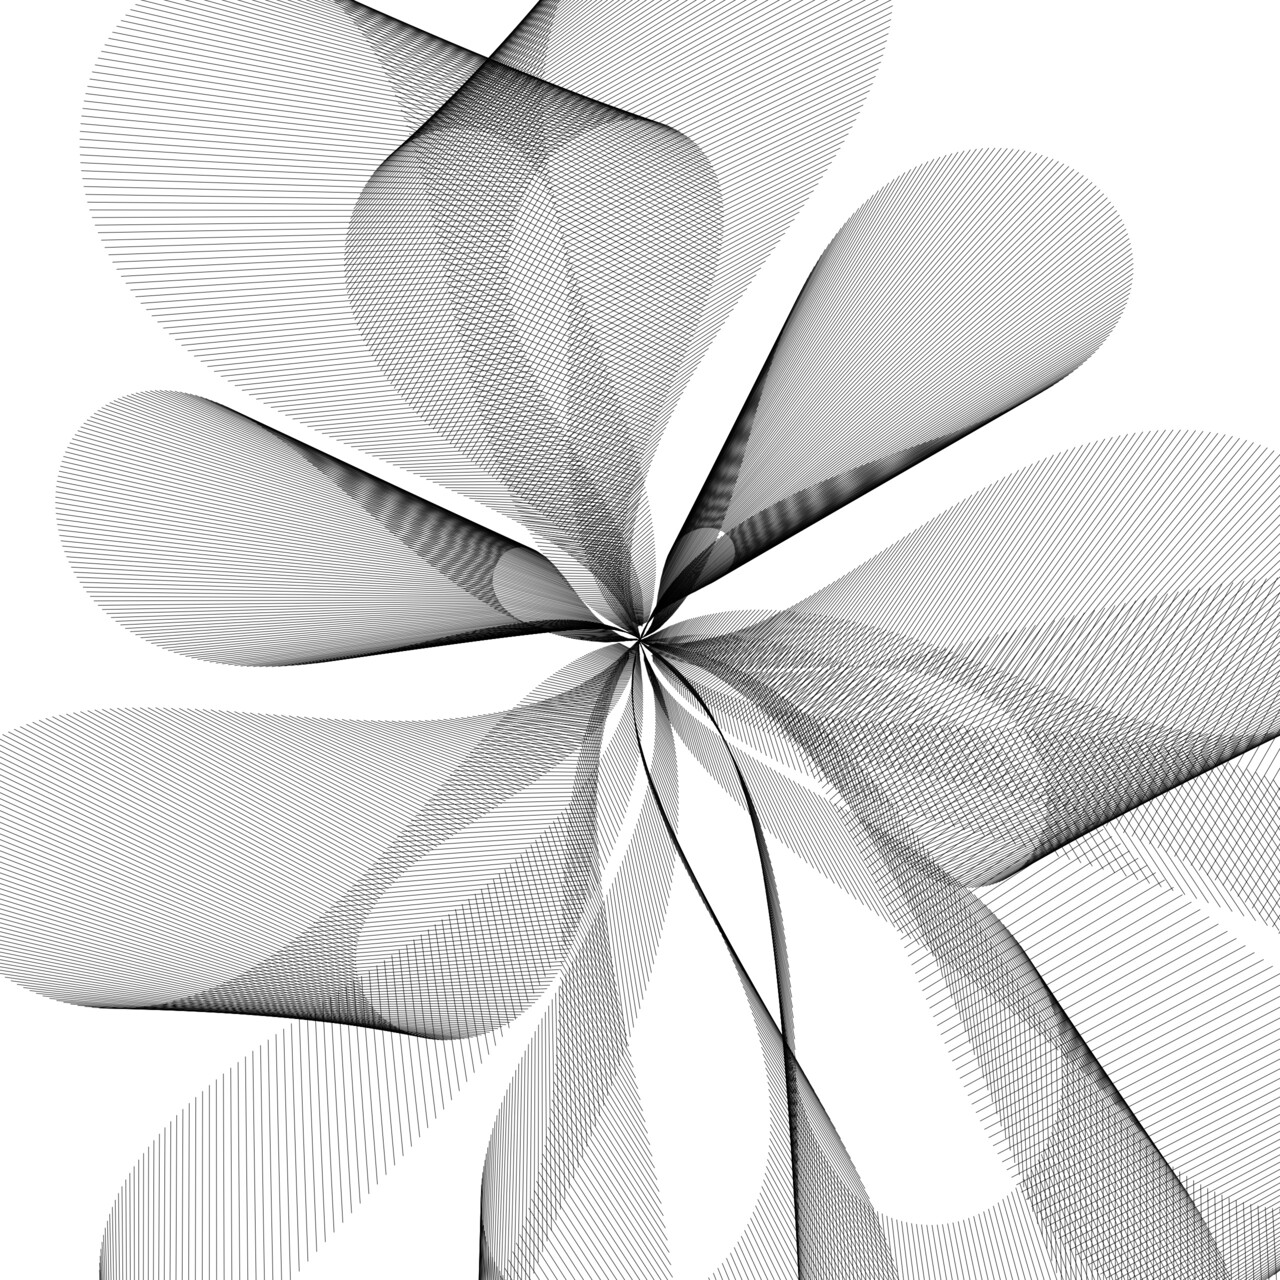
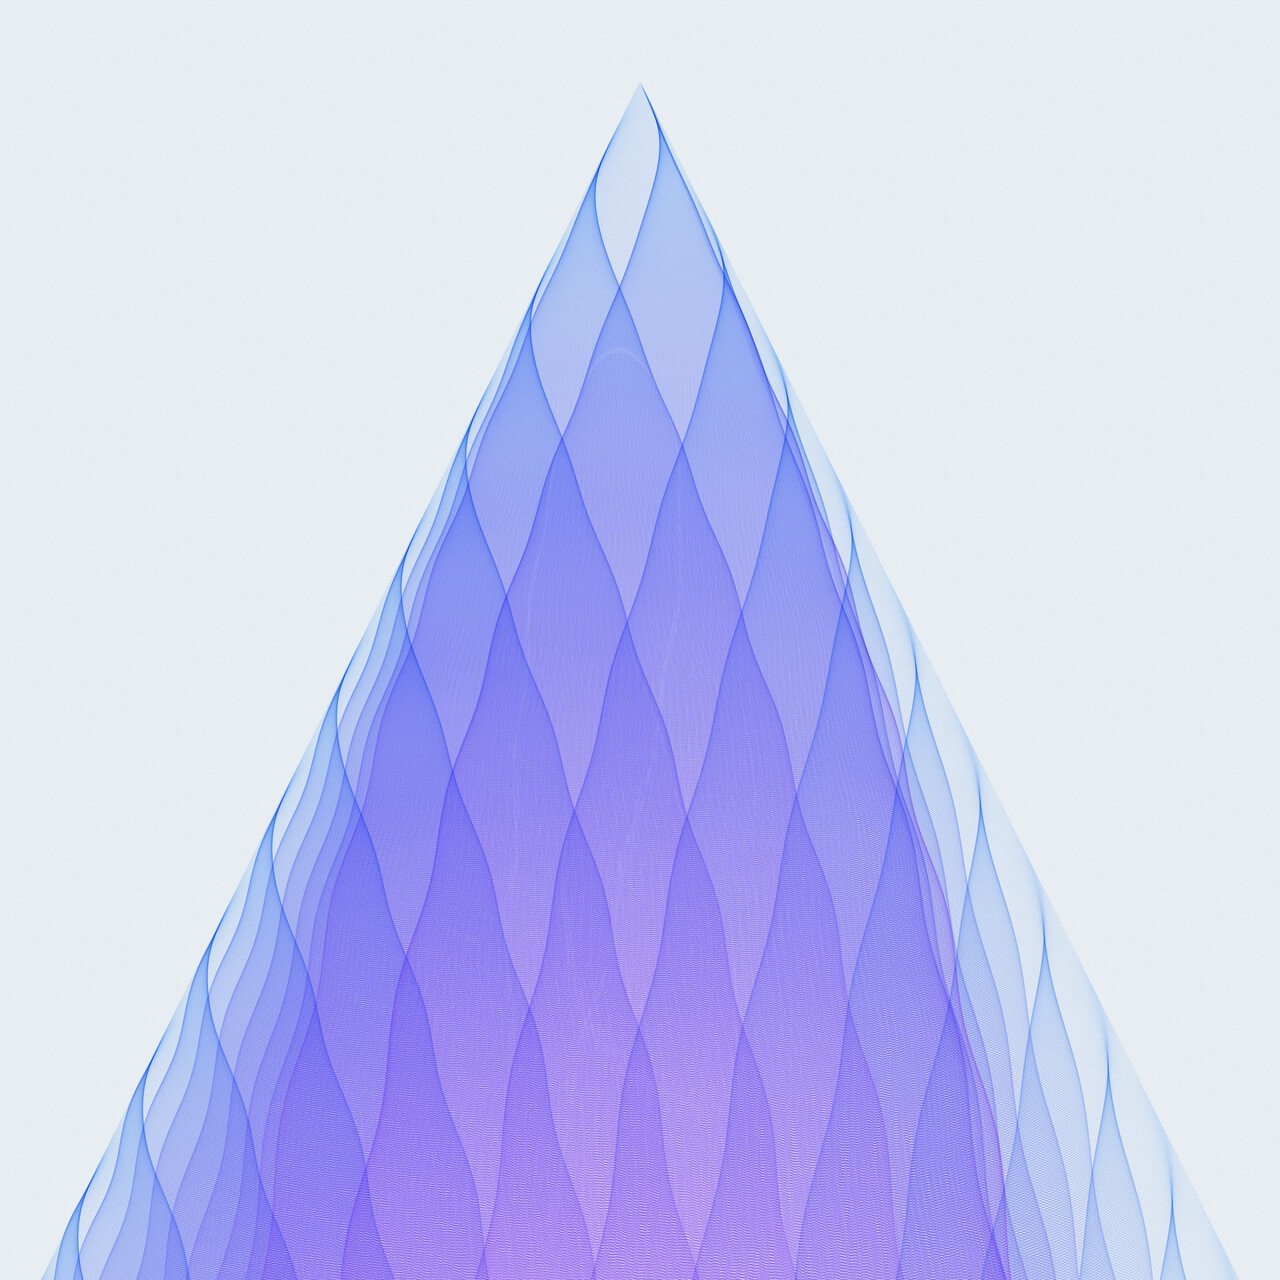
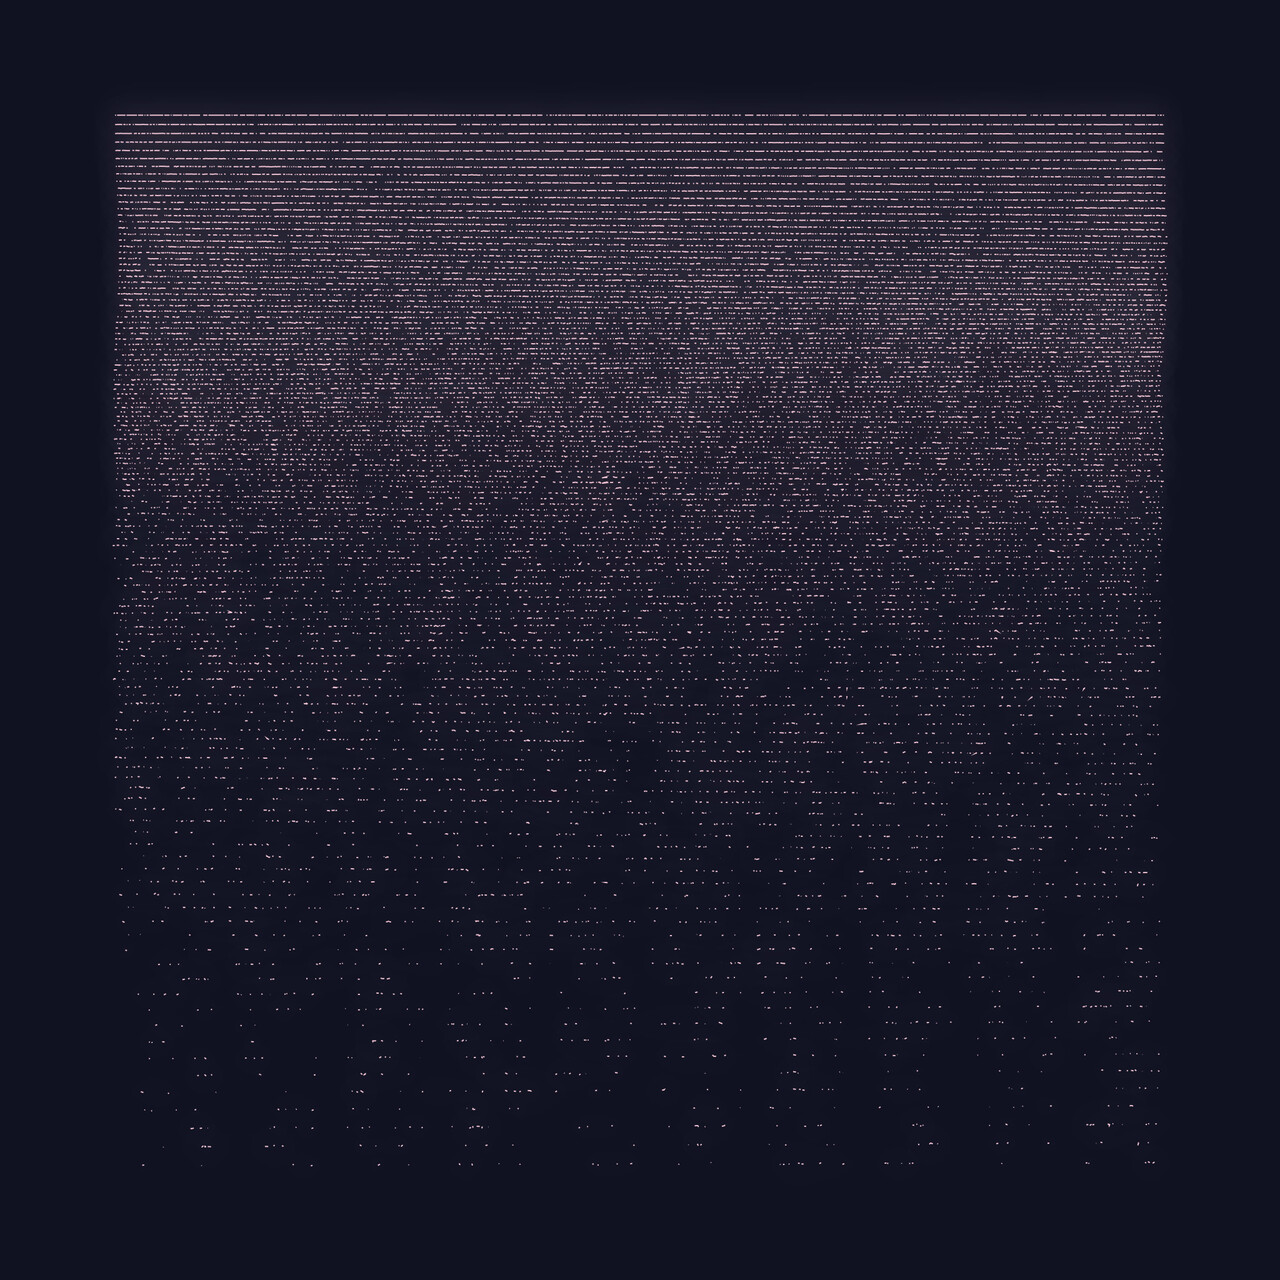
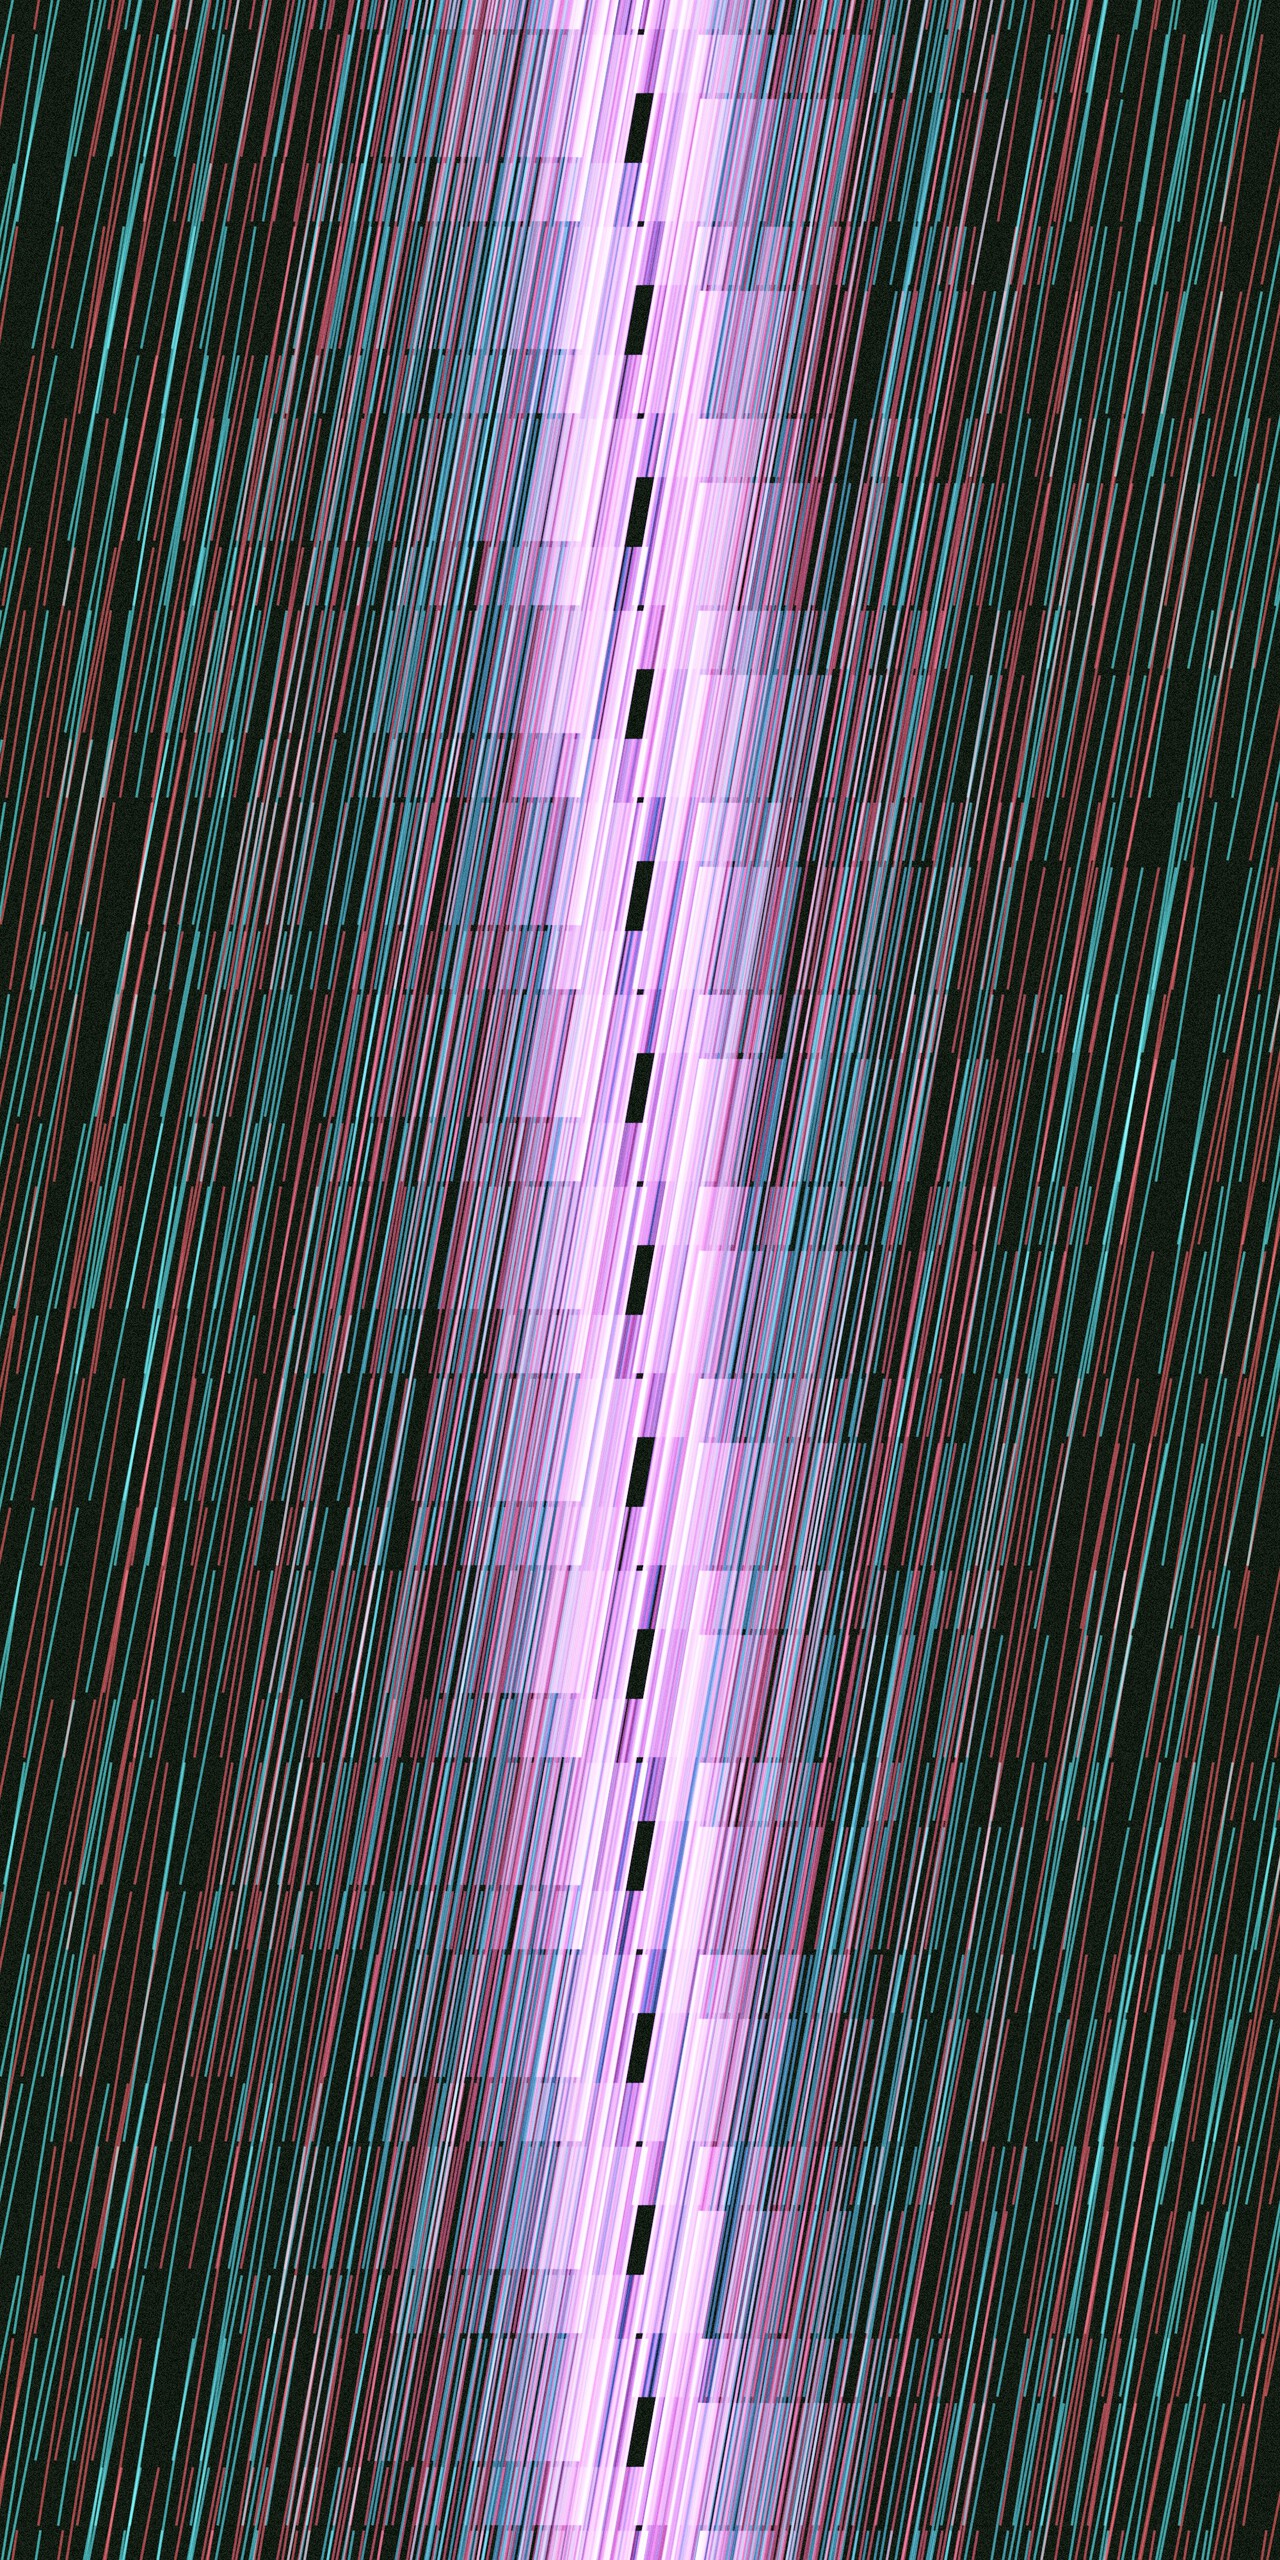
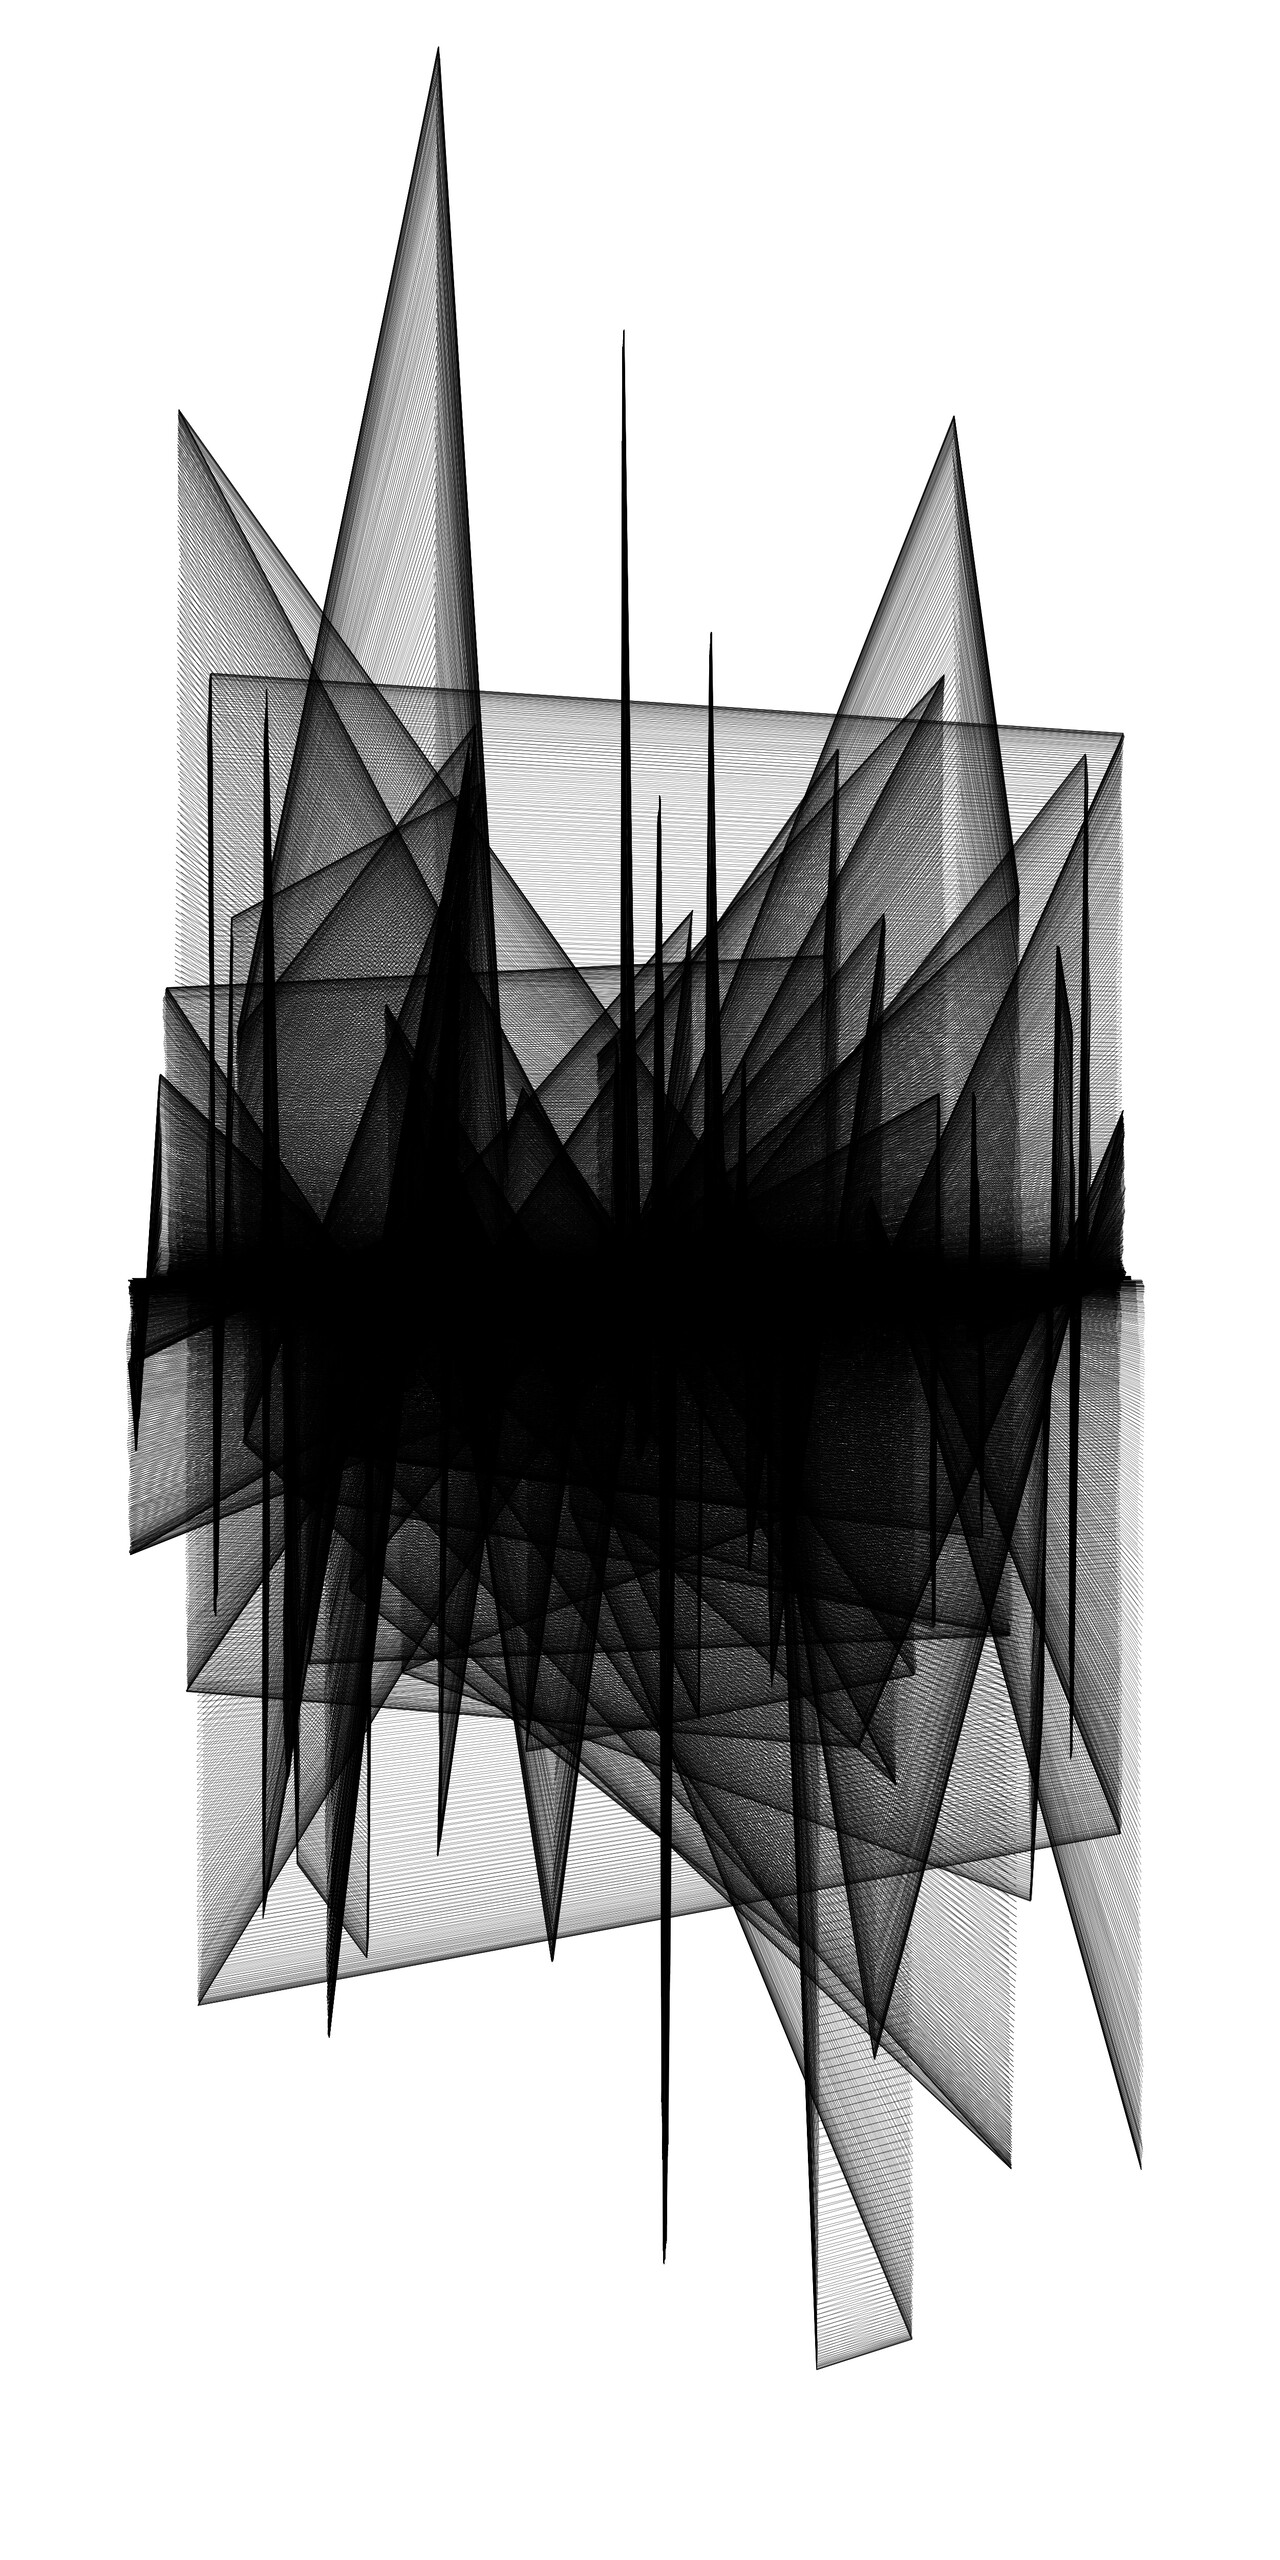
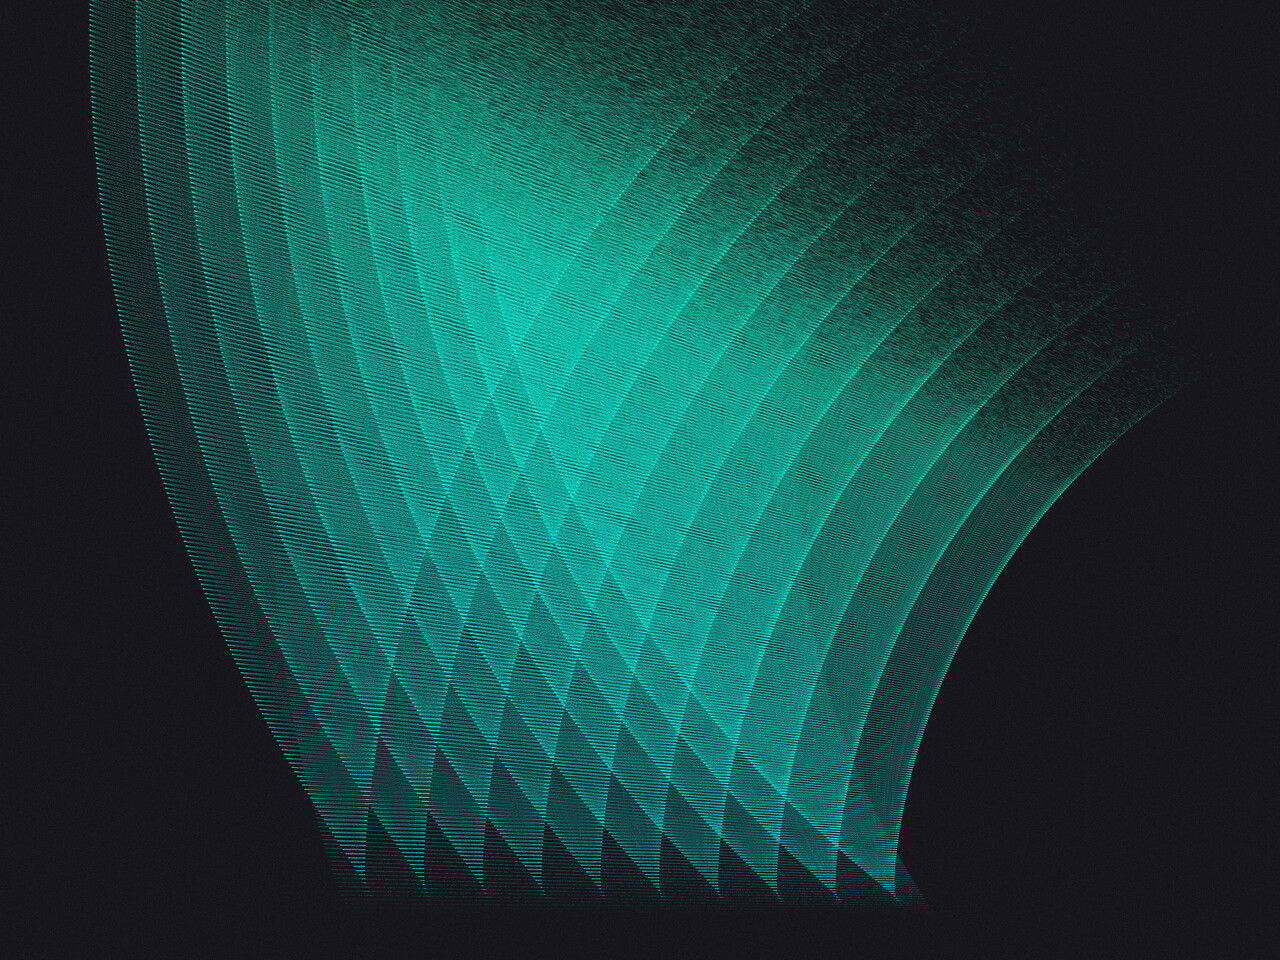
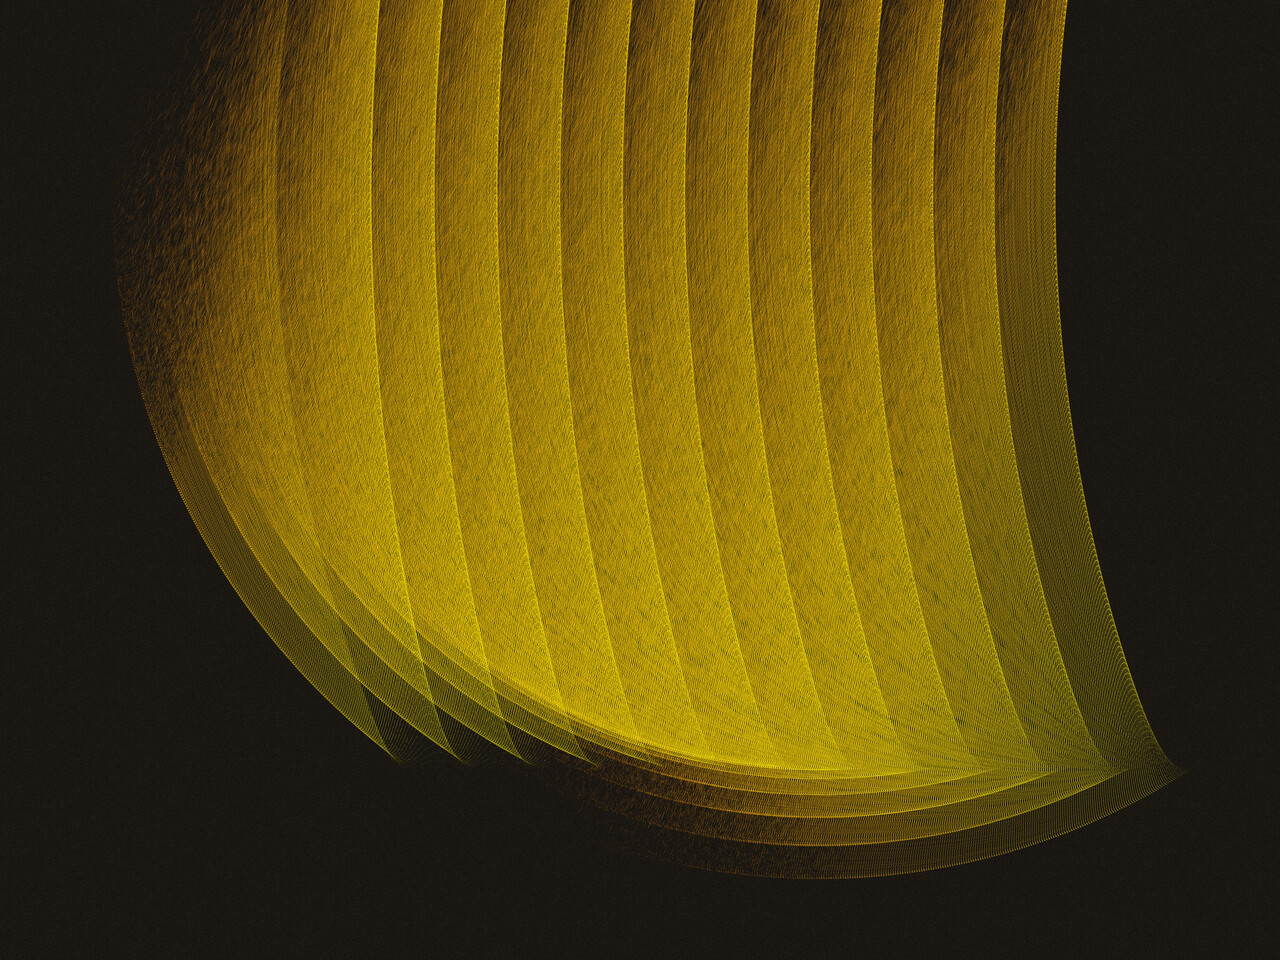
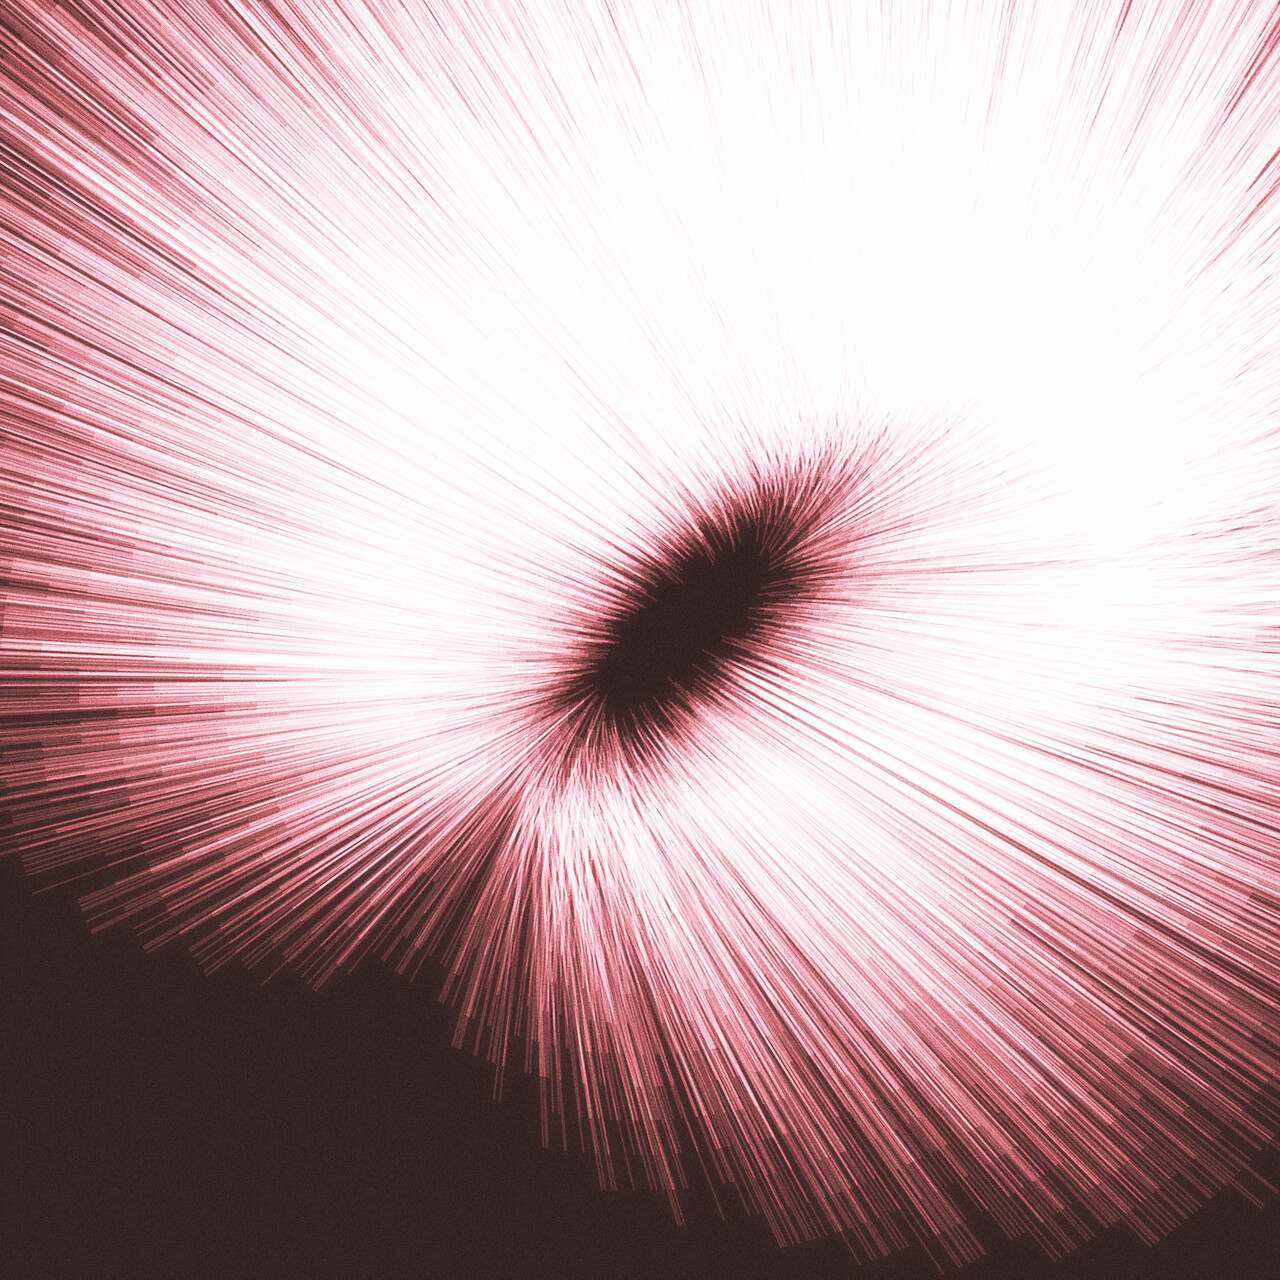
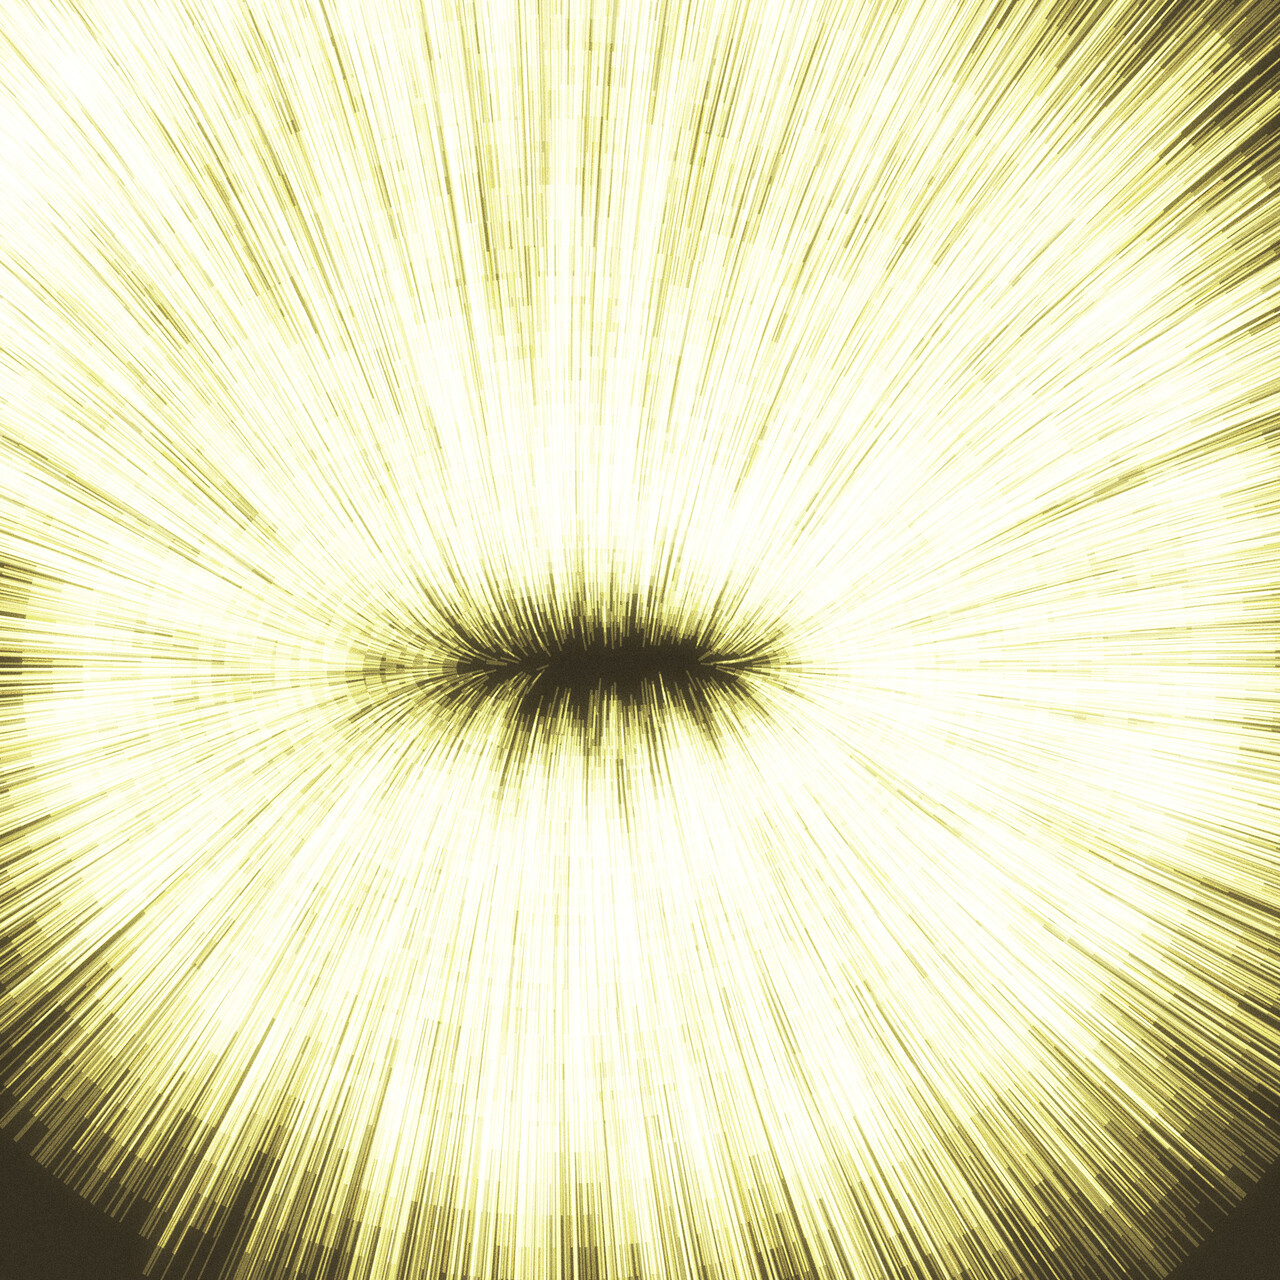
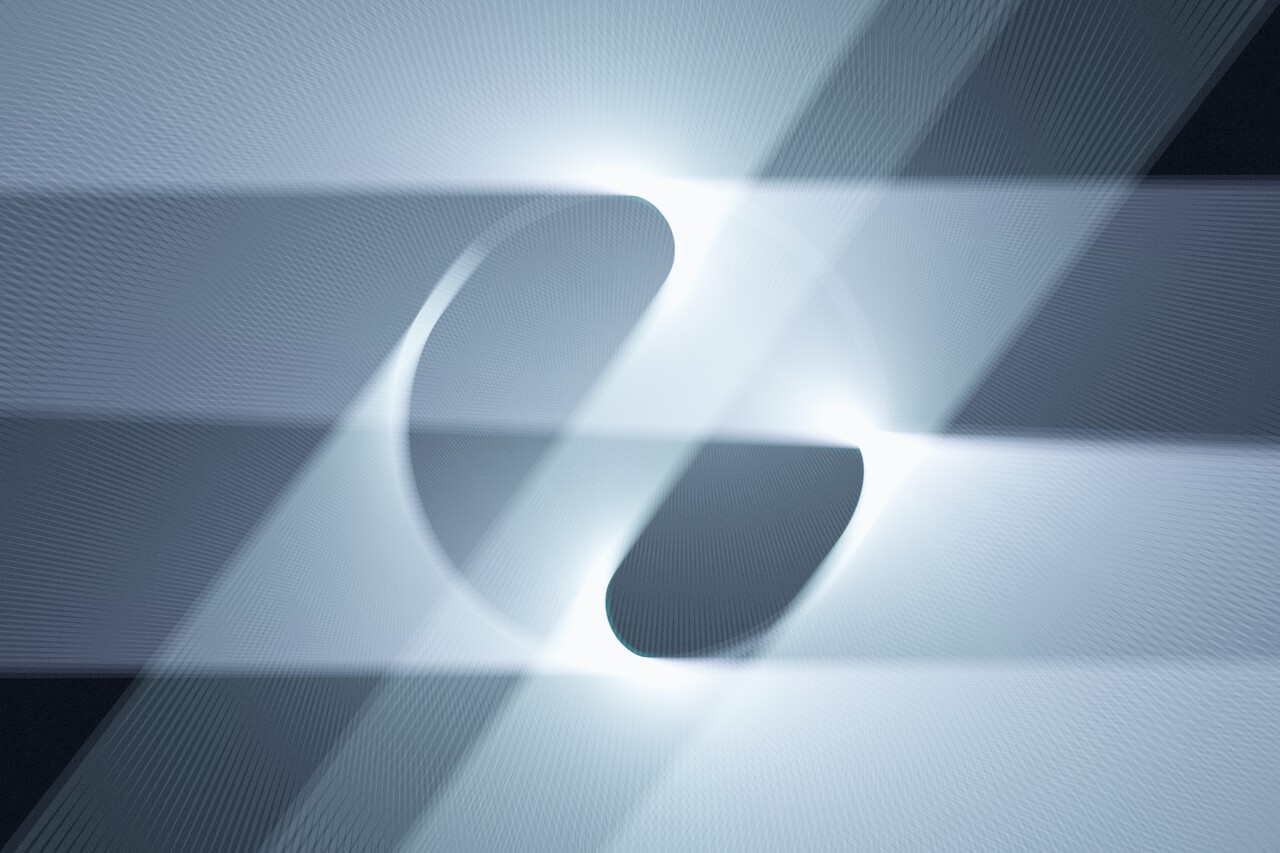
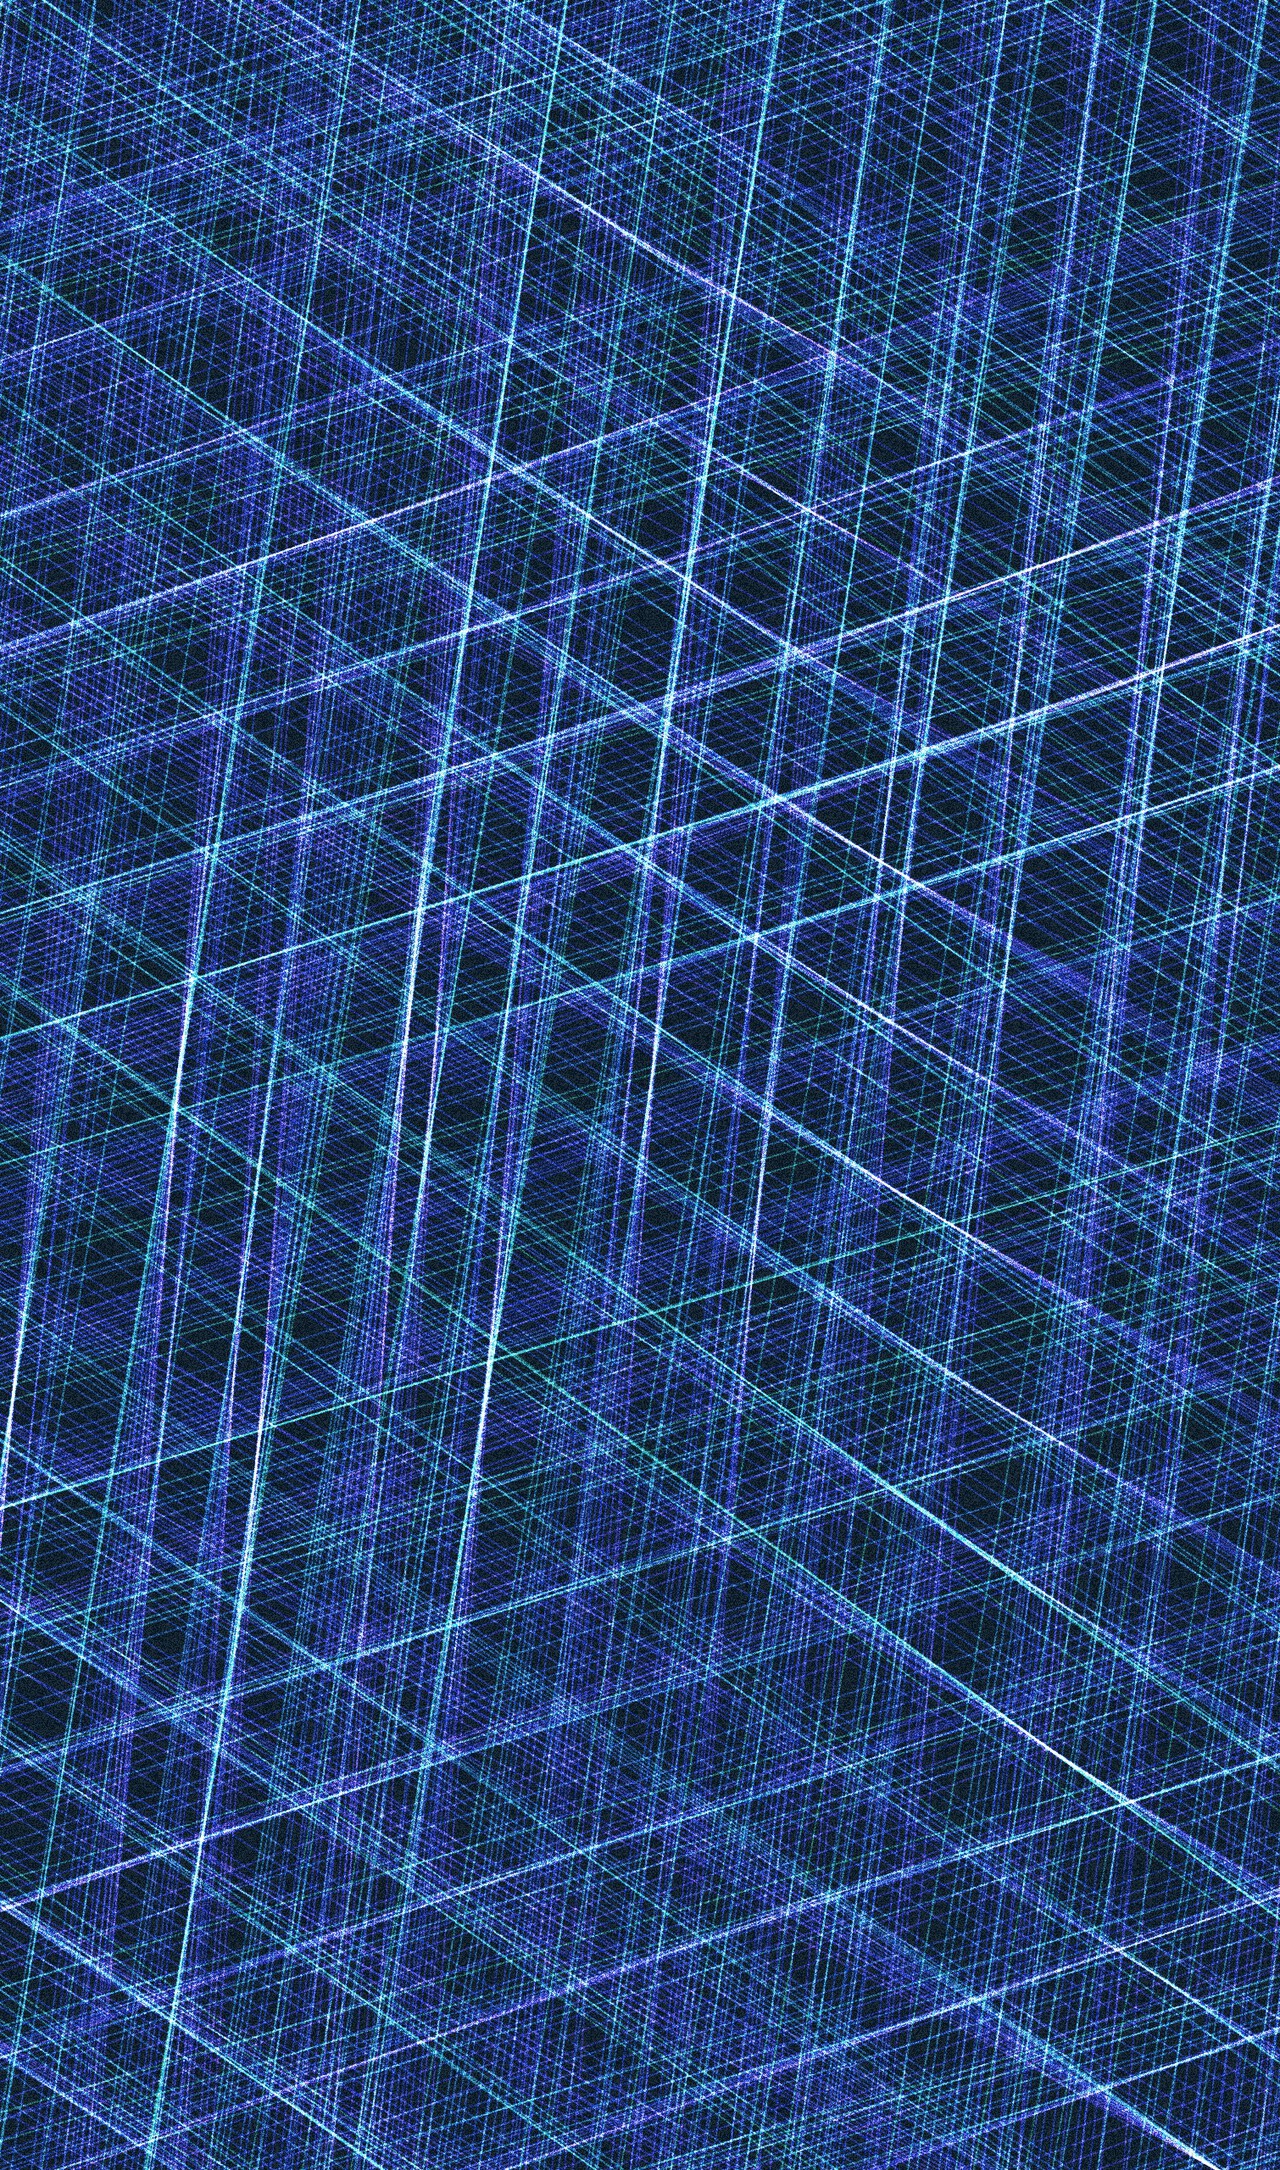
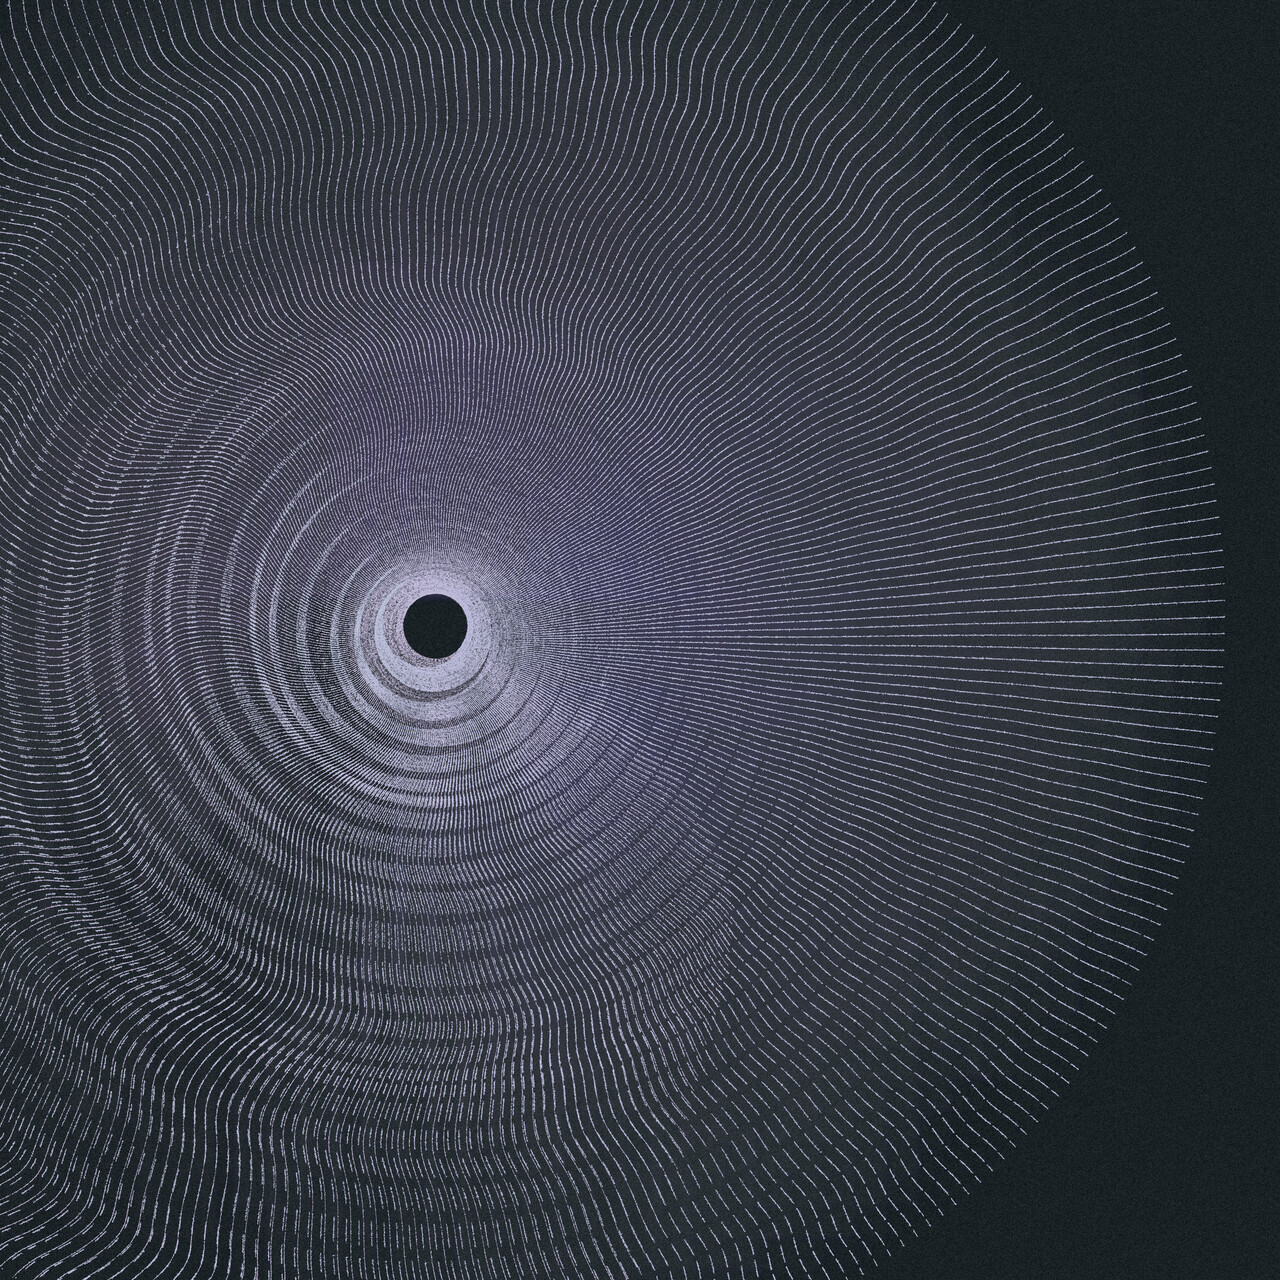
Gallery
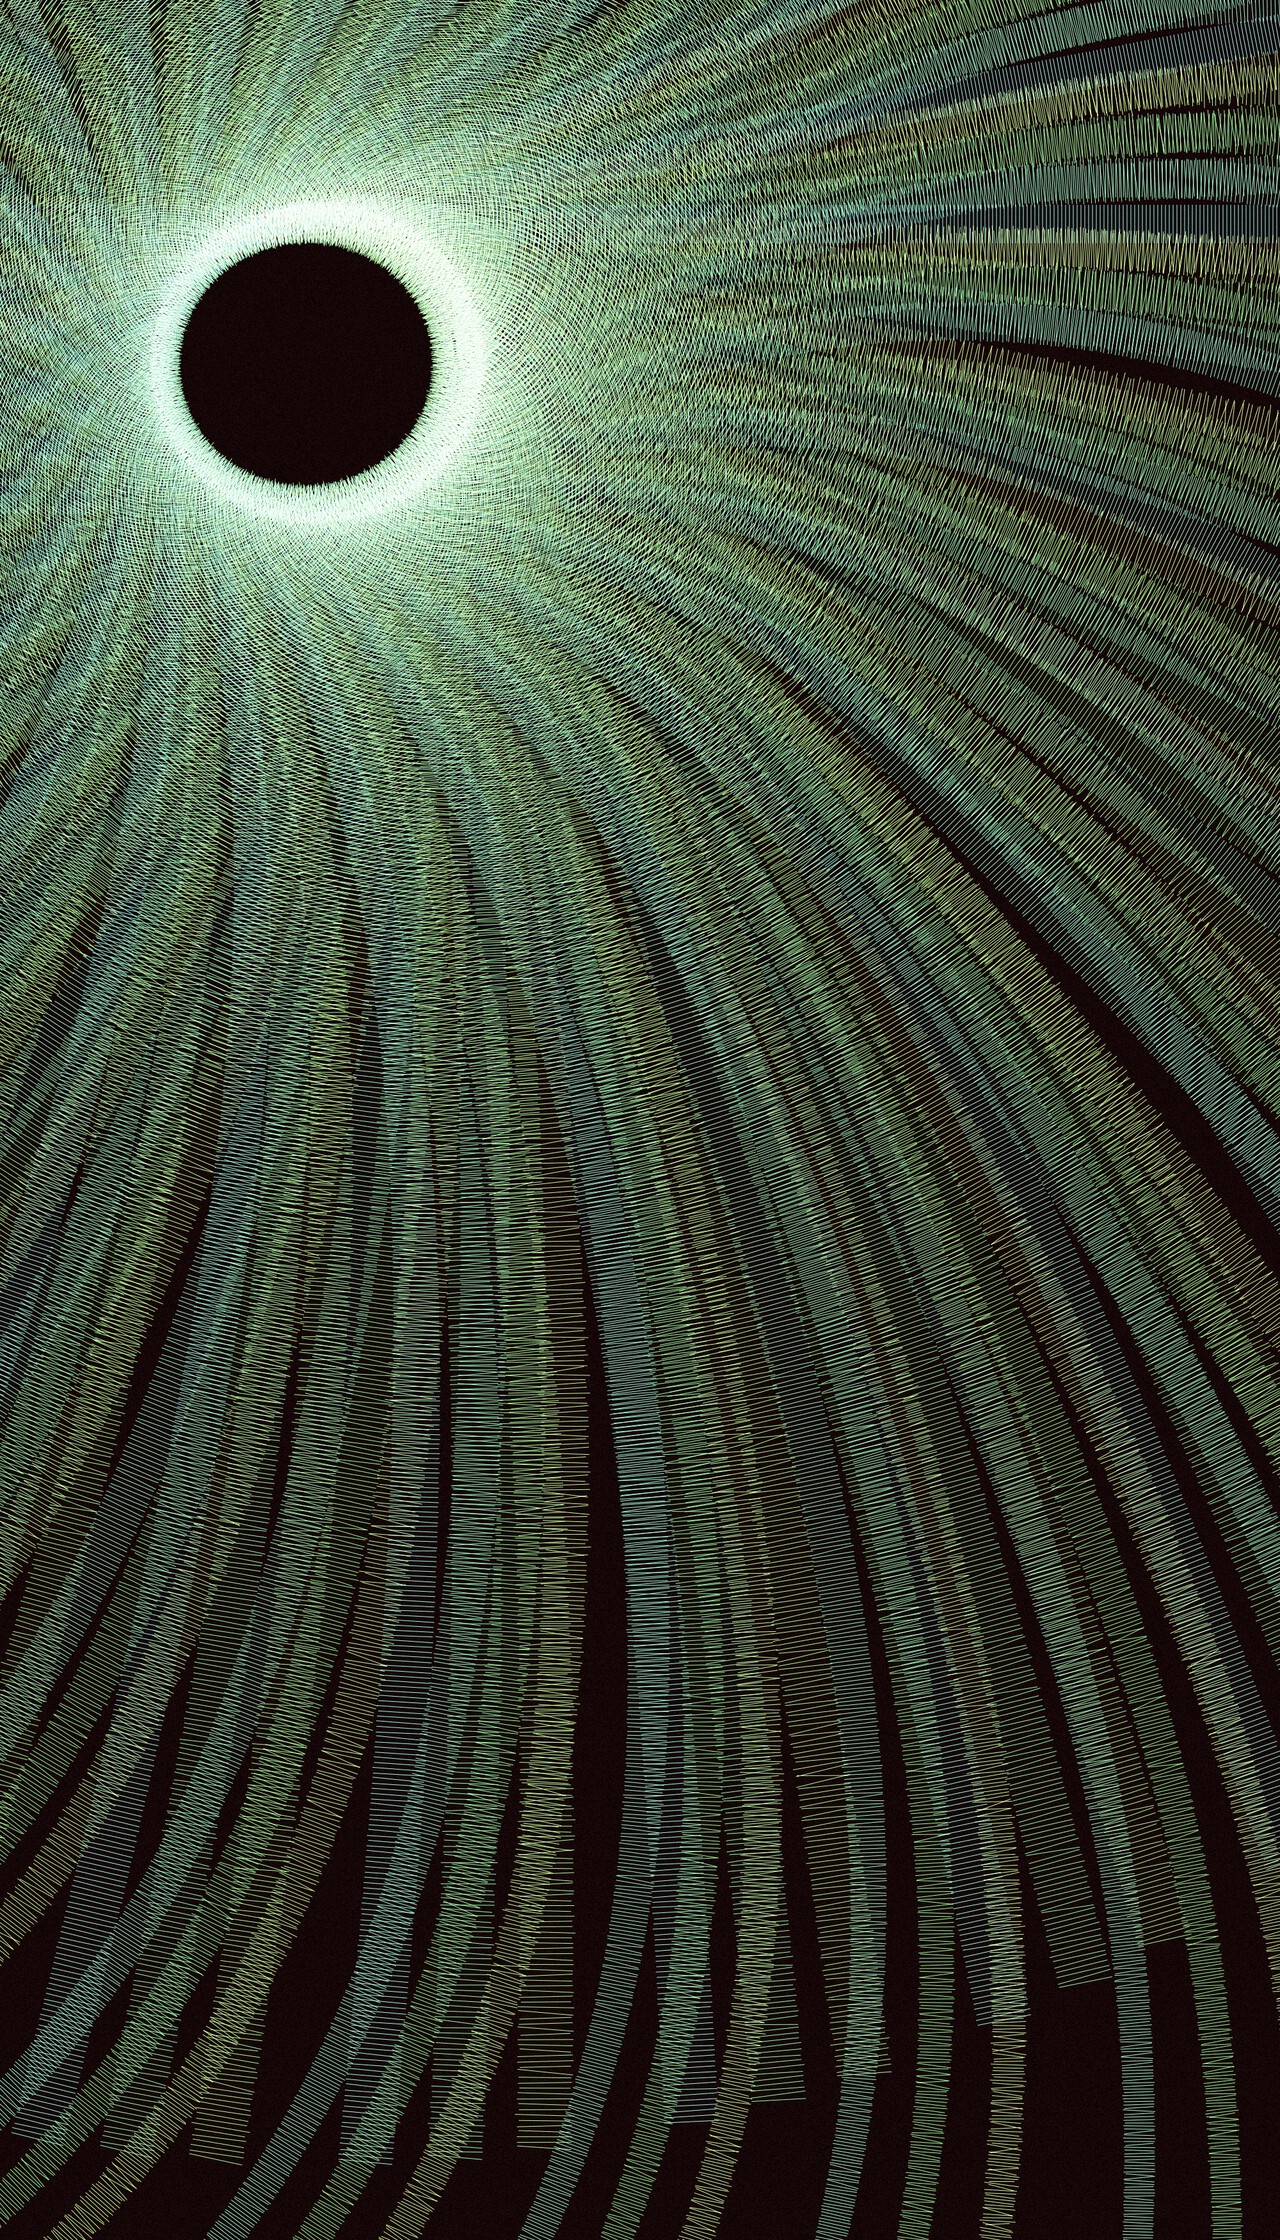
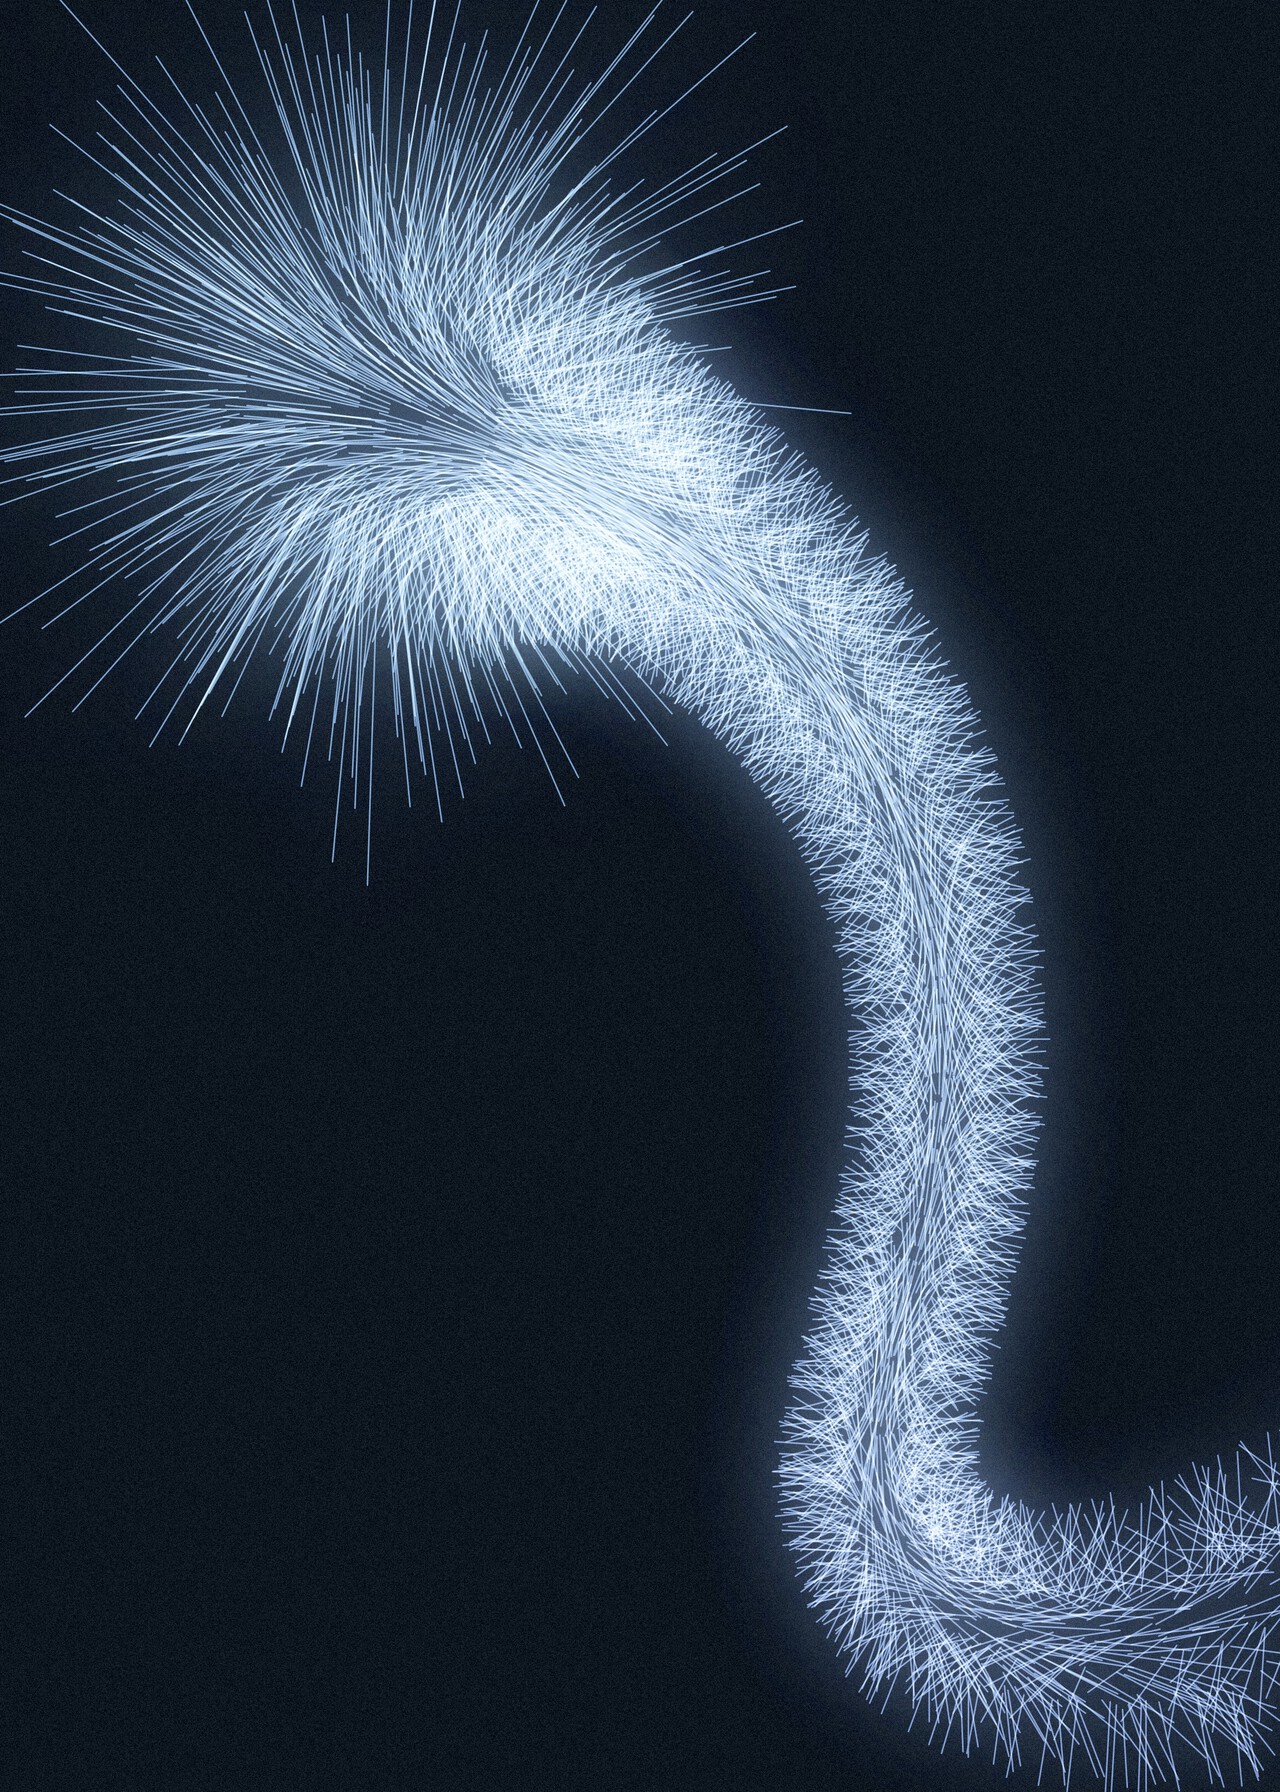
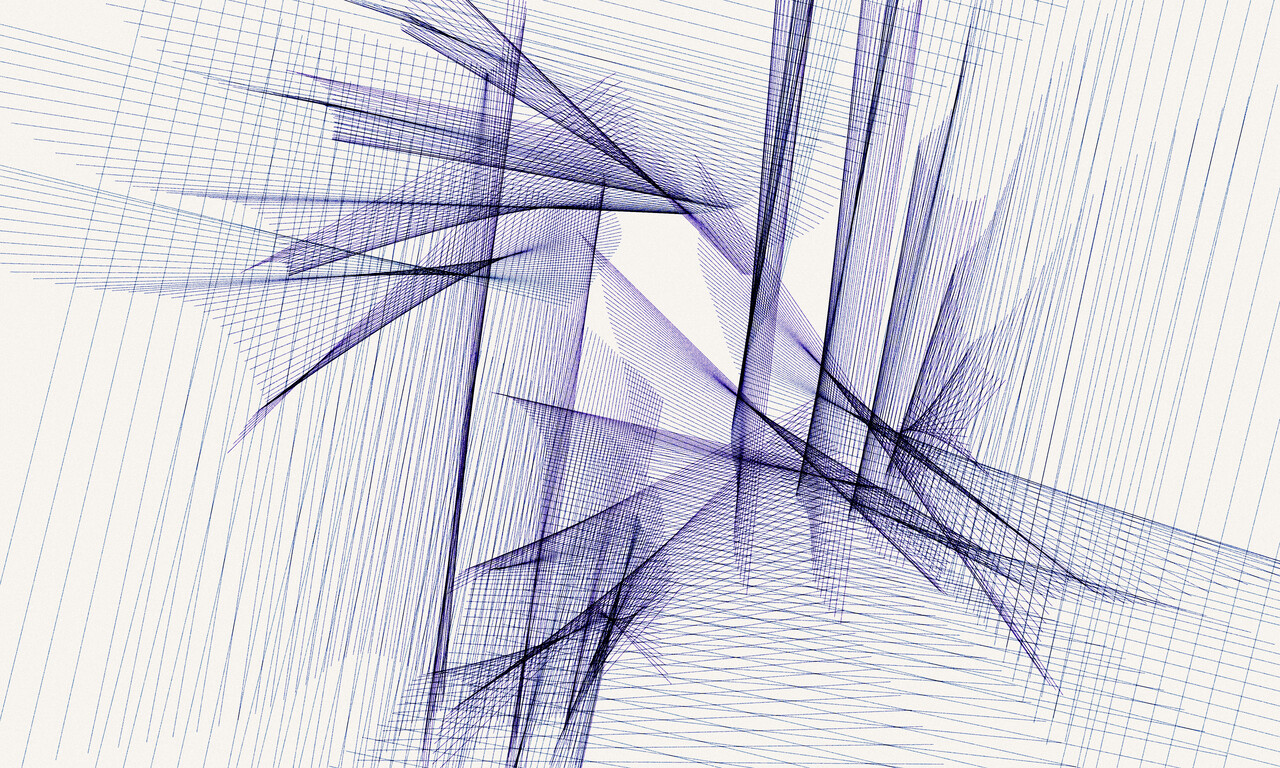
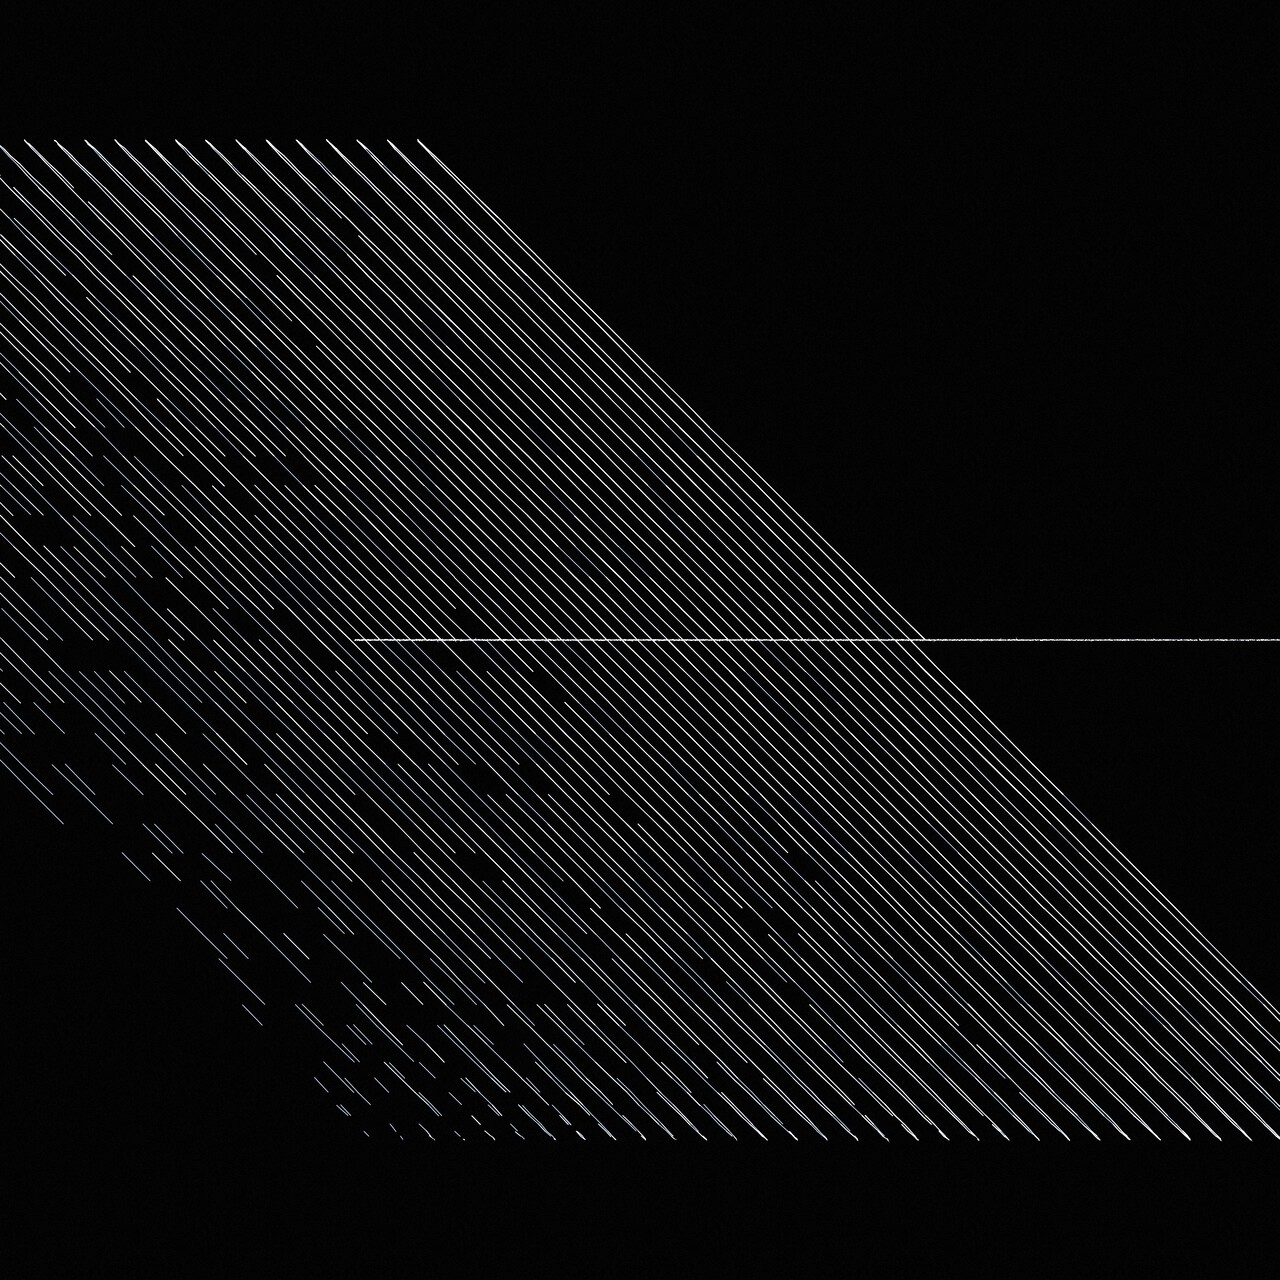
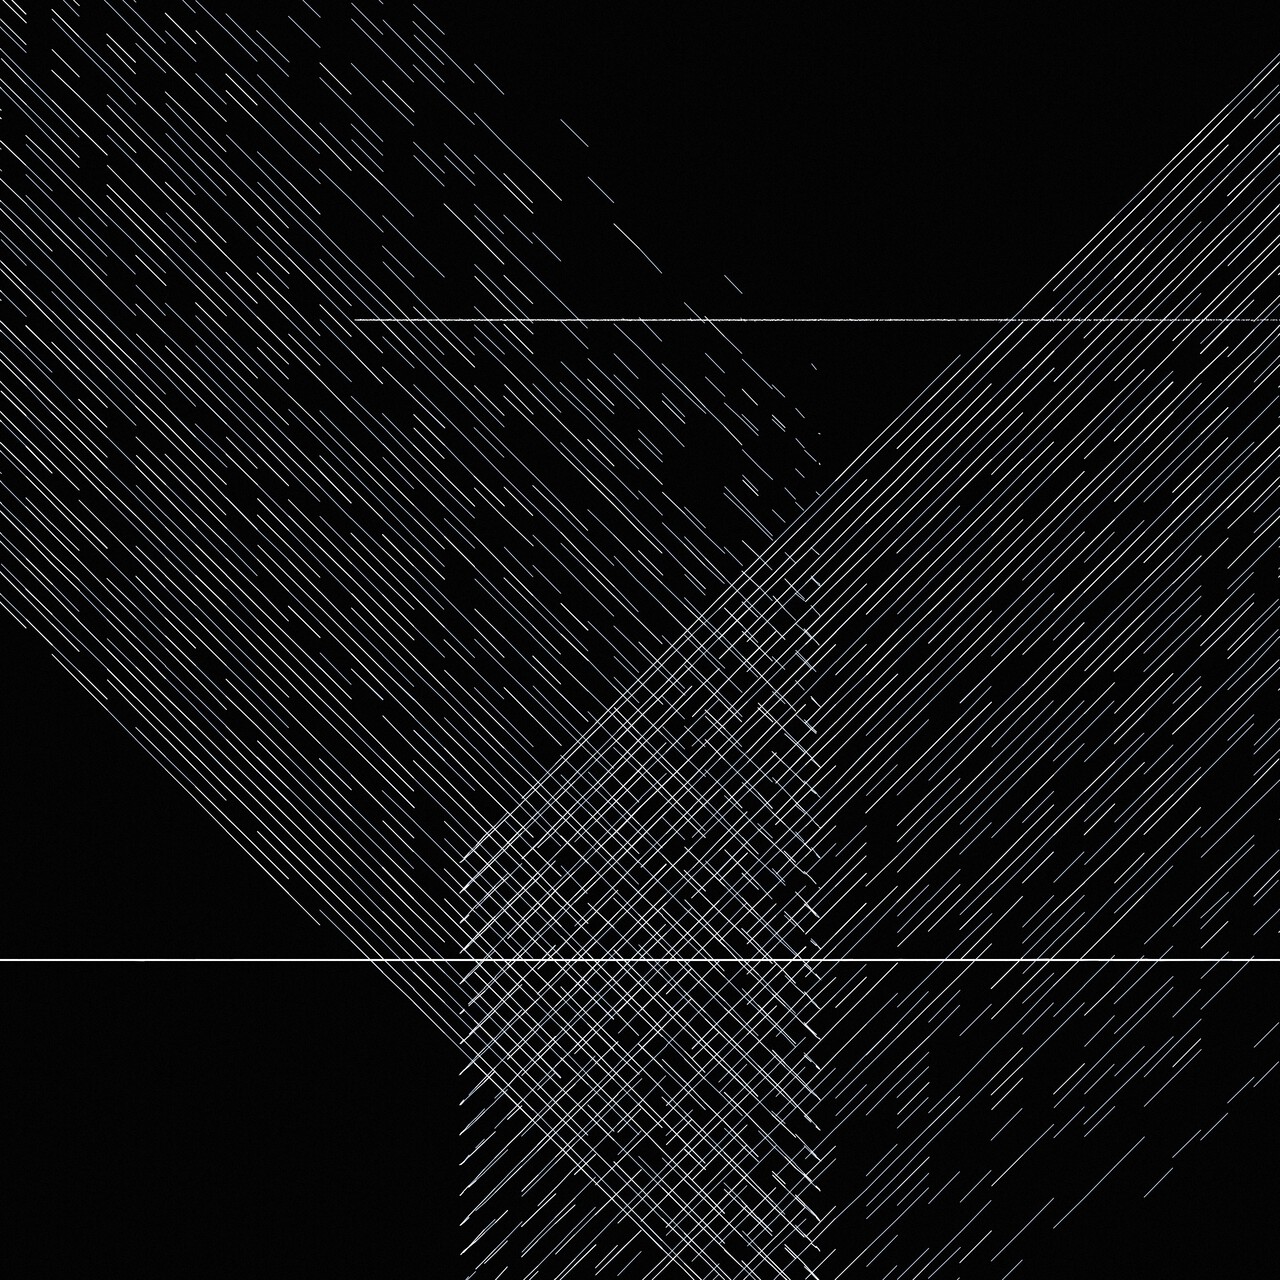
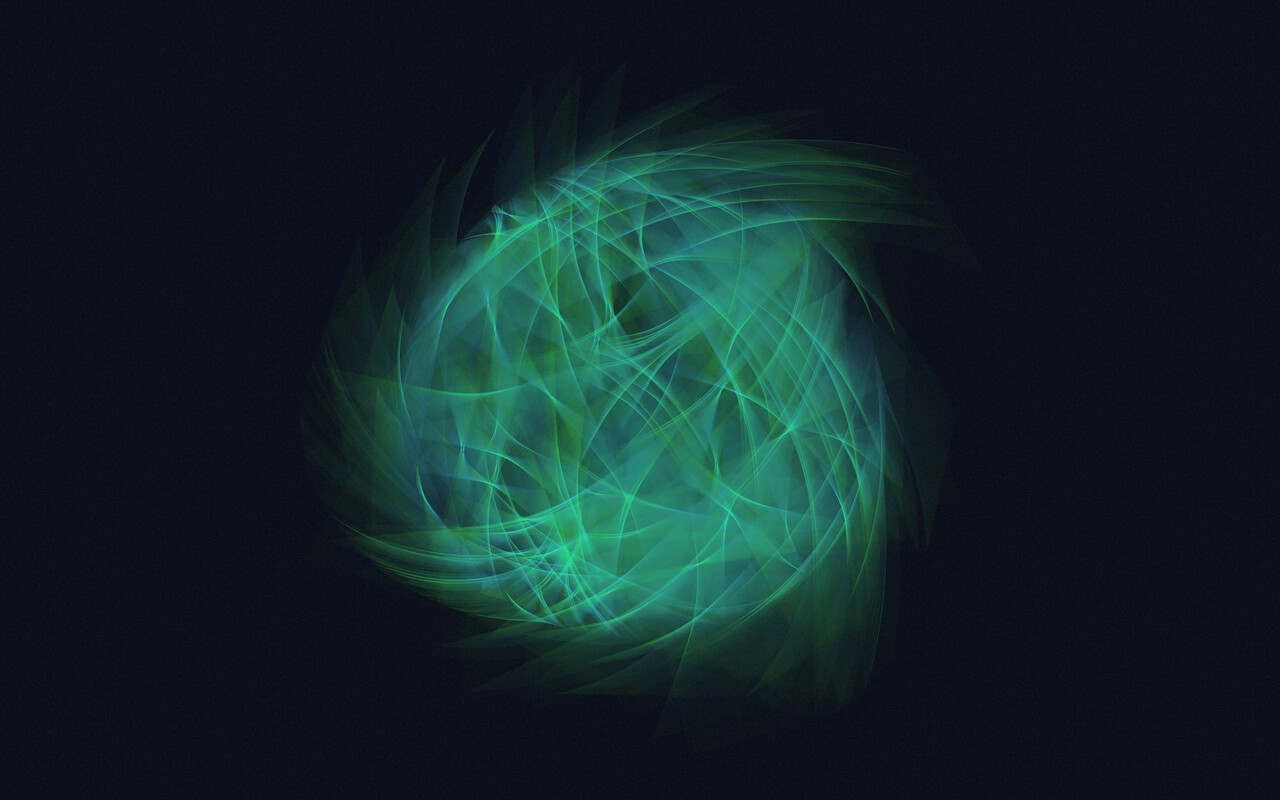
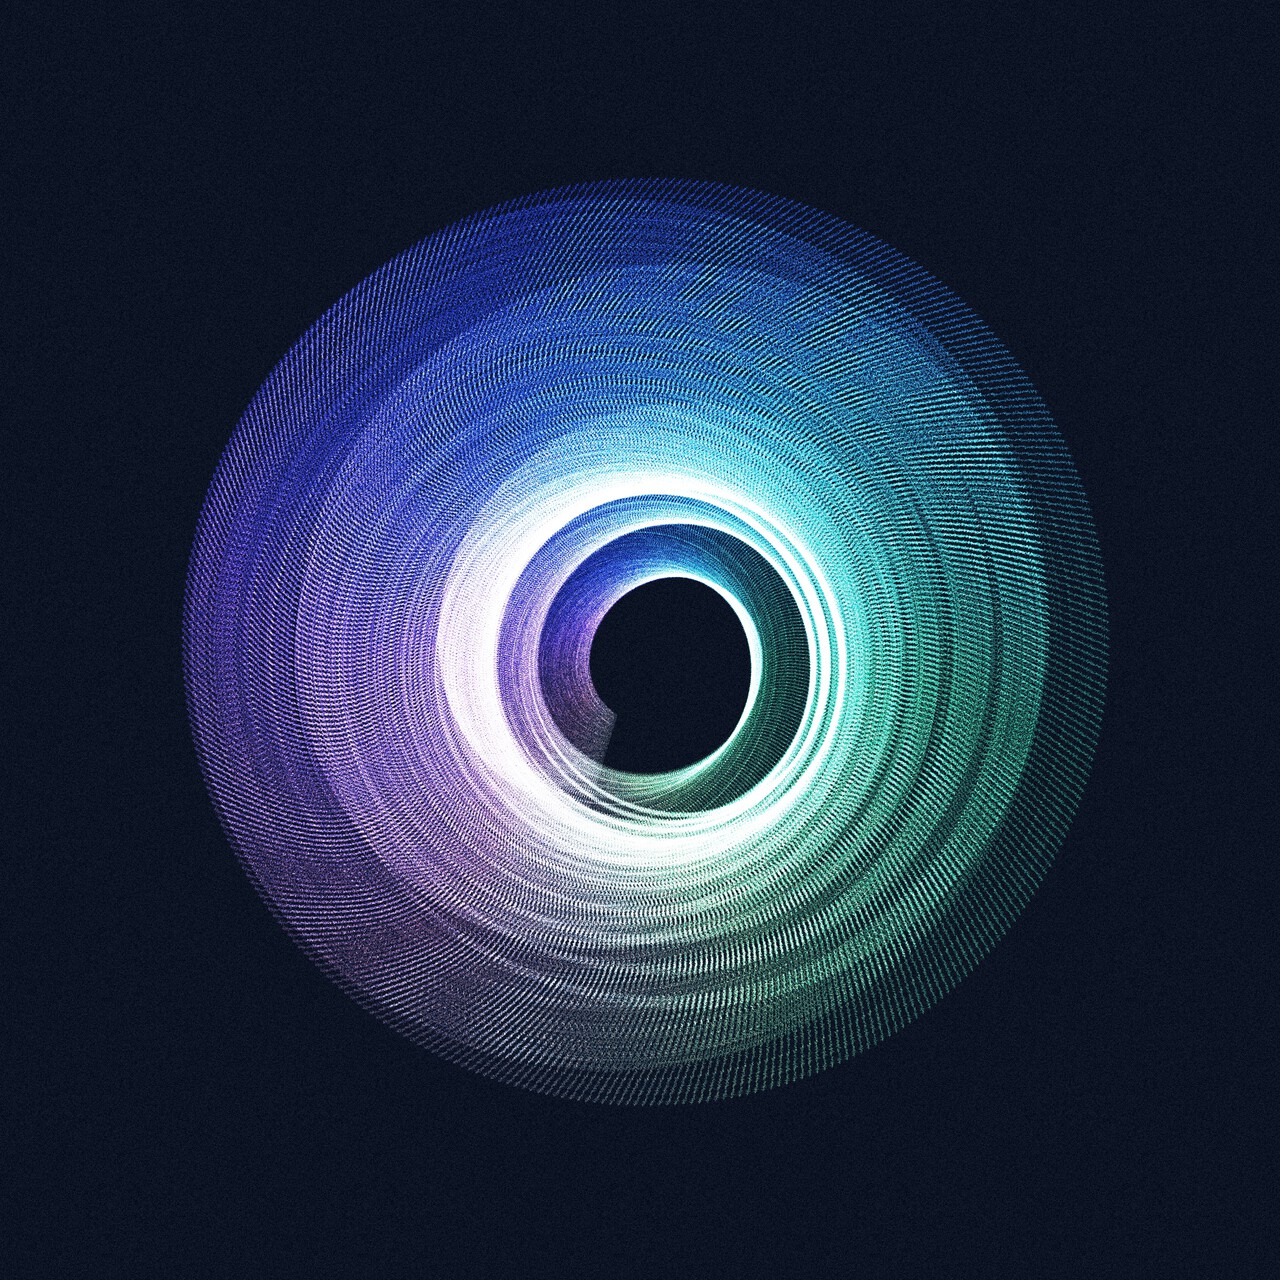
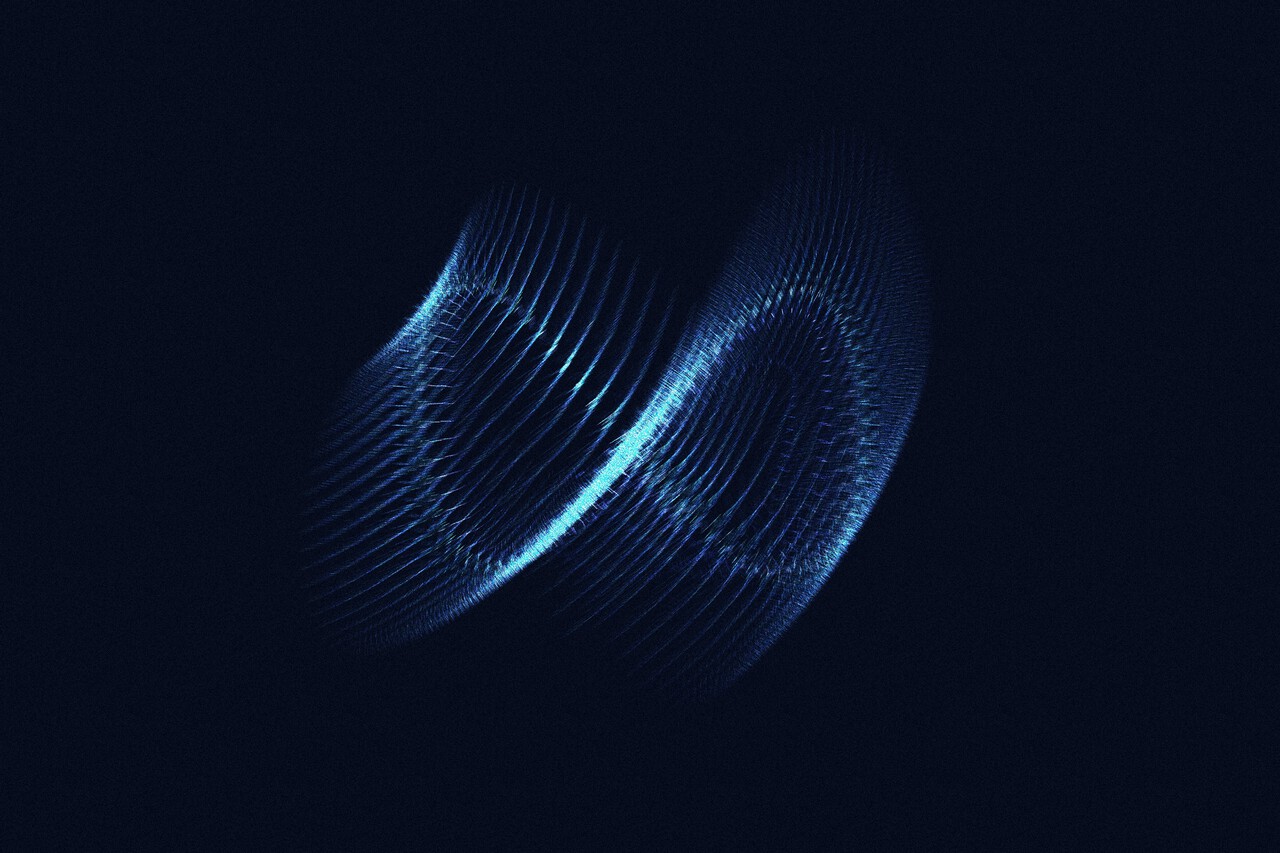
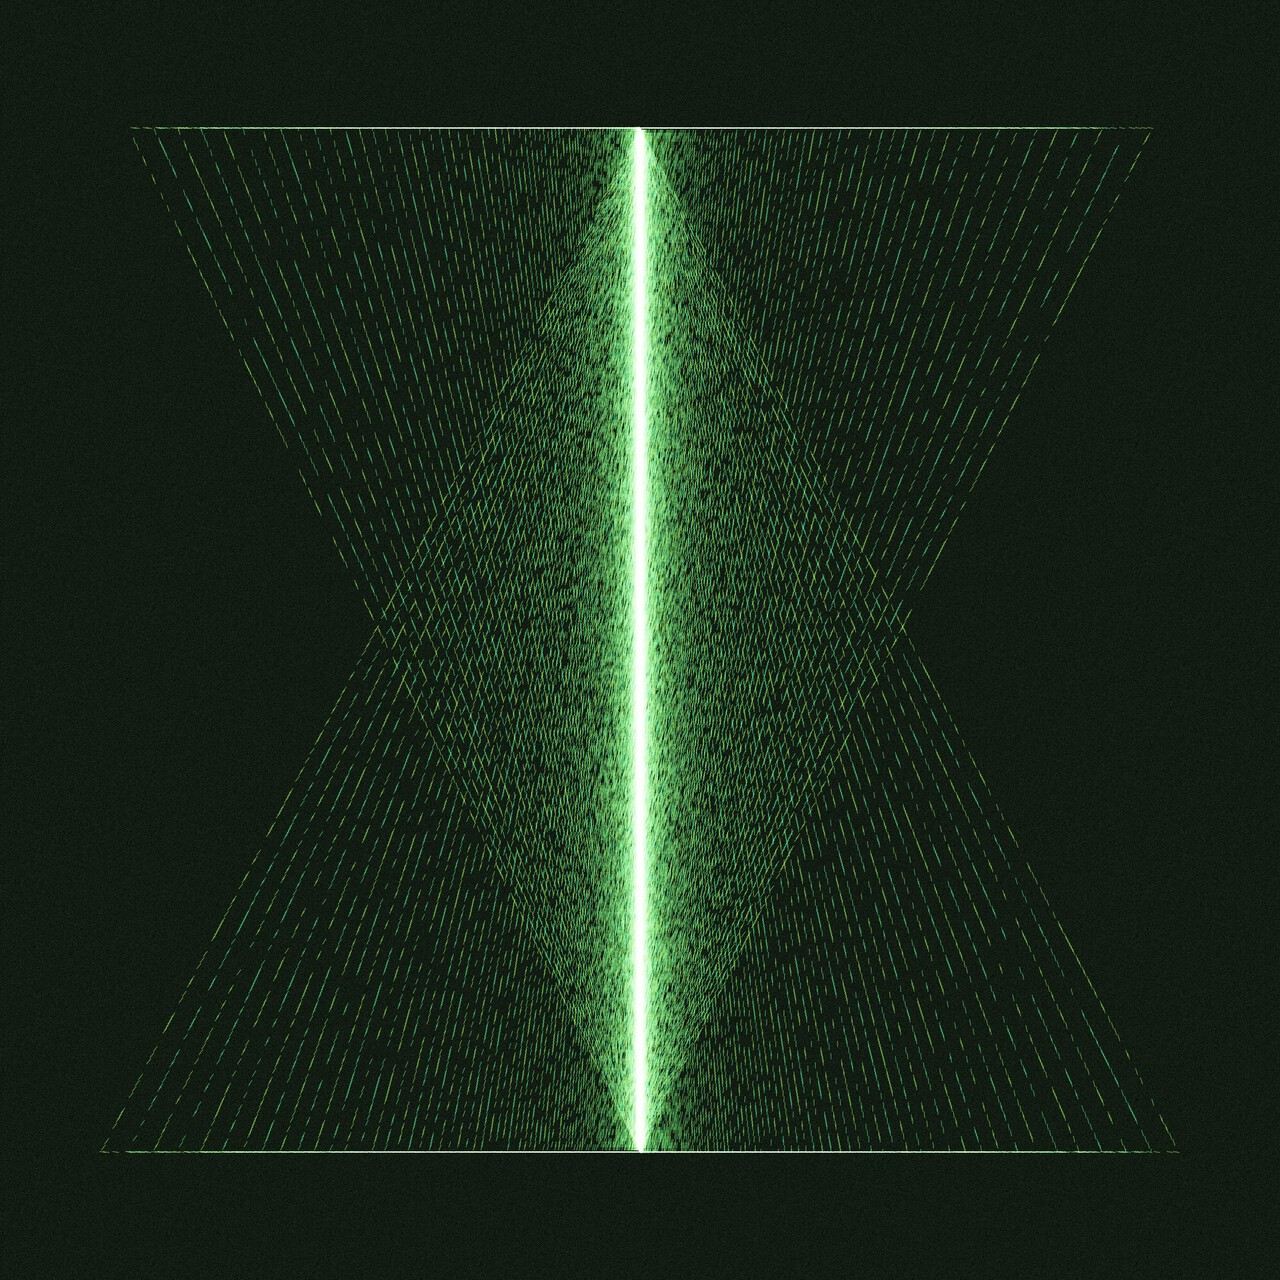
Having spent many hours making art with UJI during its development and regularly returning to it since, I’ve ended up with a handful of pieces that I’m really happy with. What’s more, I frequently discover combinations of parameters that yield new families of unexpected and wildly different-from-anything-I’ve-done-so-far results, so I’m confident that what’s below isn’t the best stuff that can possibly be made with UJI – so give it a spin and make your own art!
Clicking on any of the images below takes you to the corresponding UJI share link where you can play with the parameters for that drawing.